
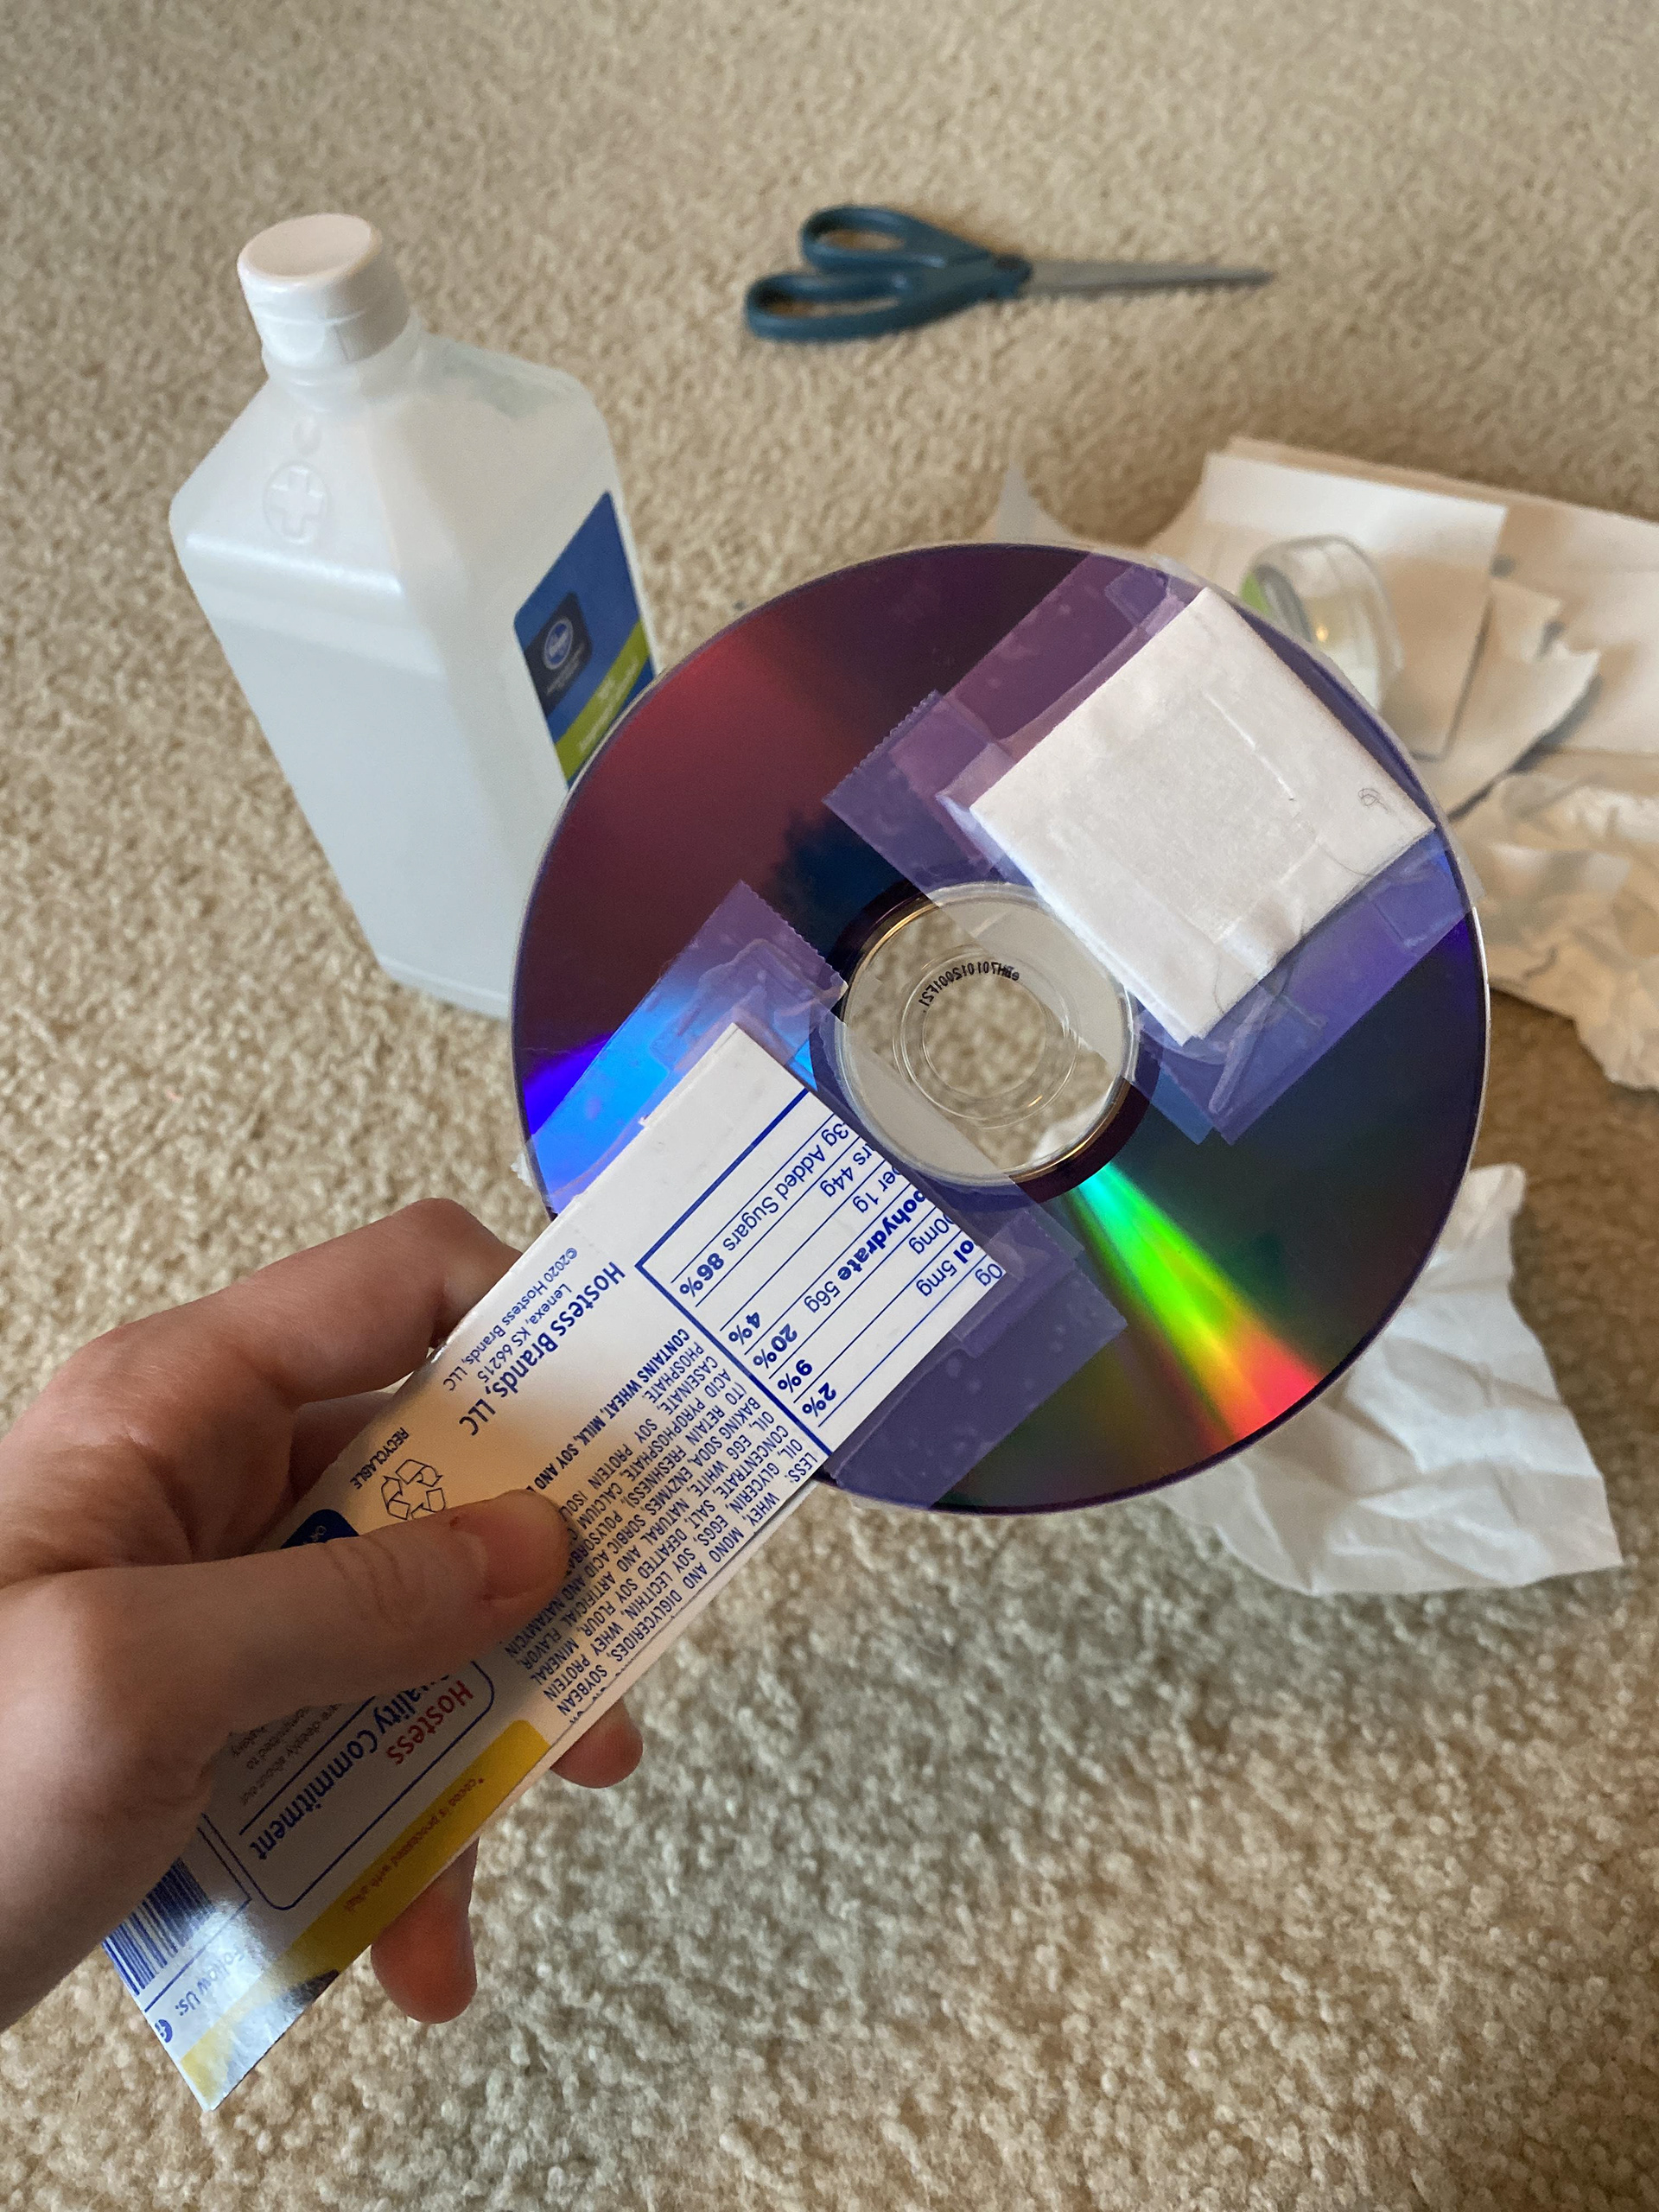
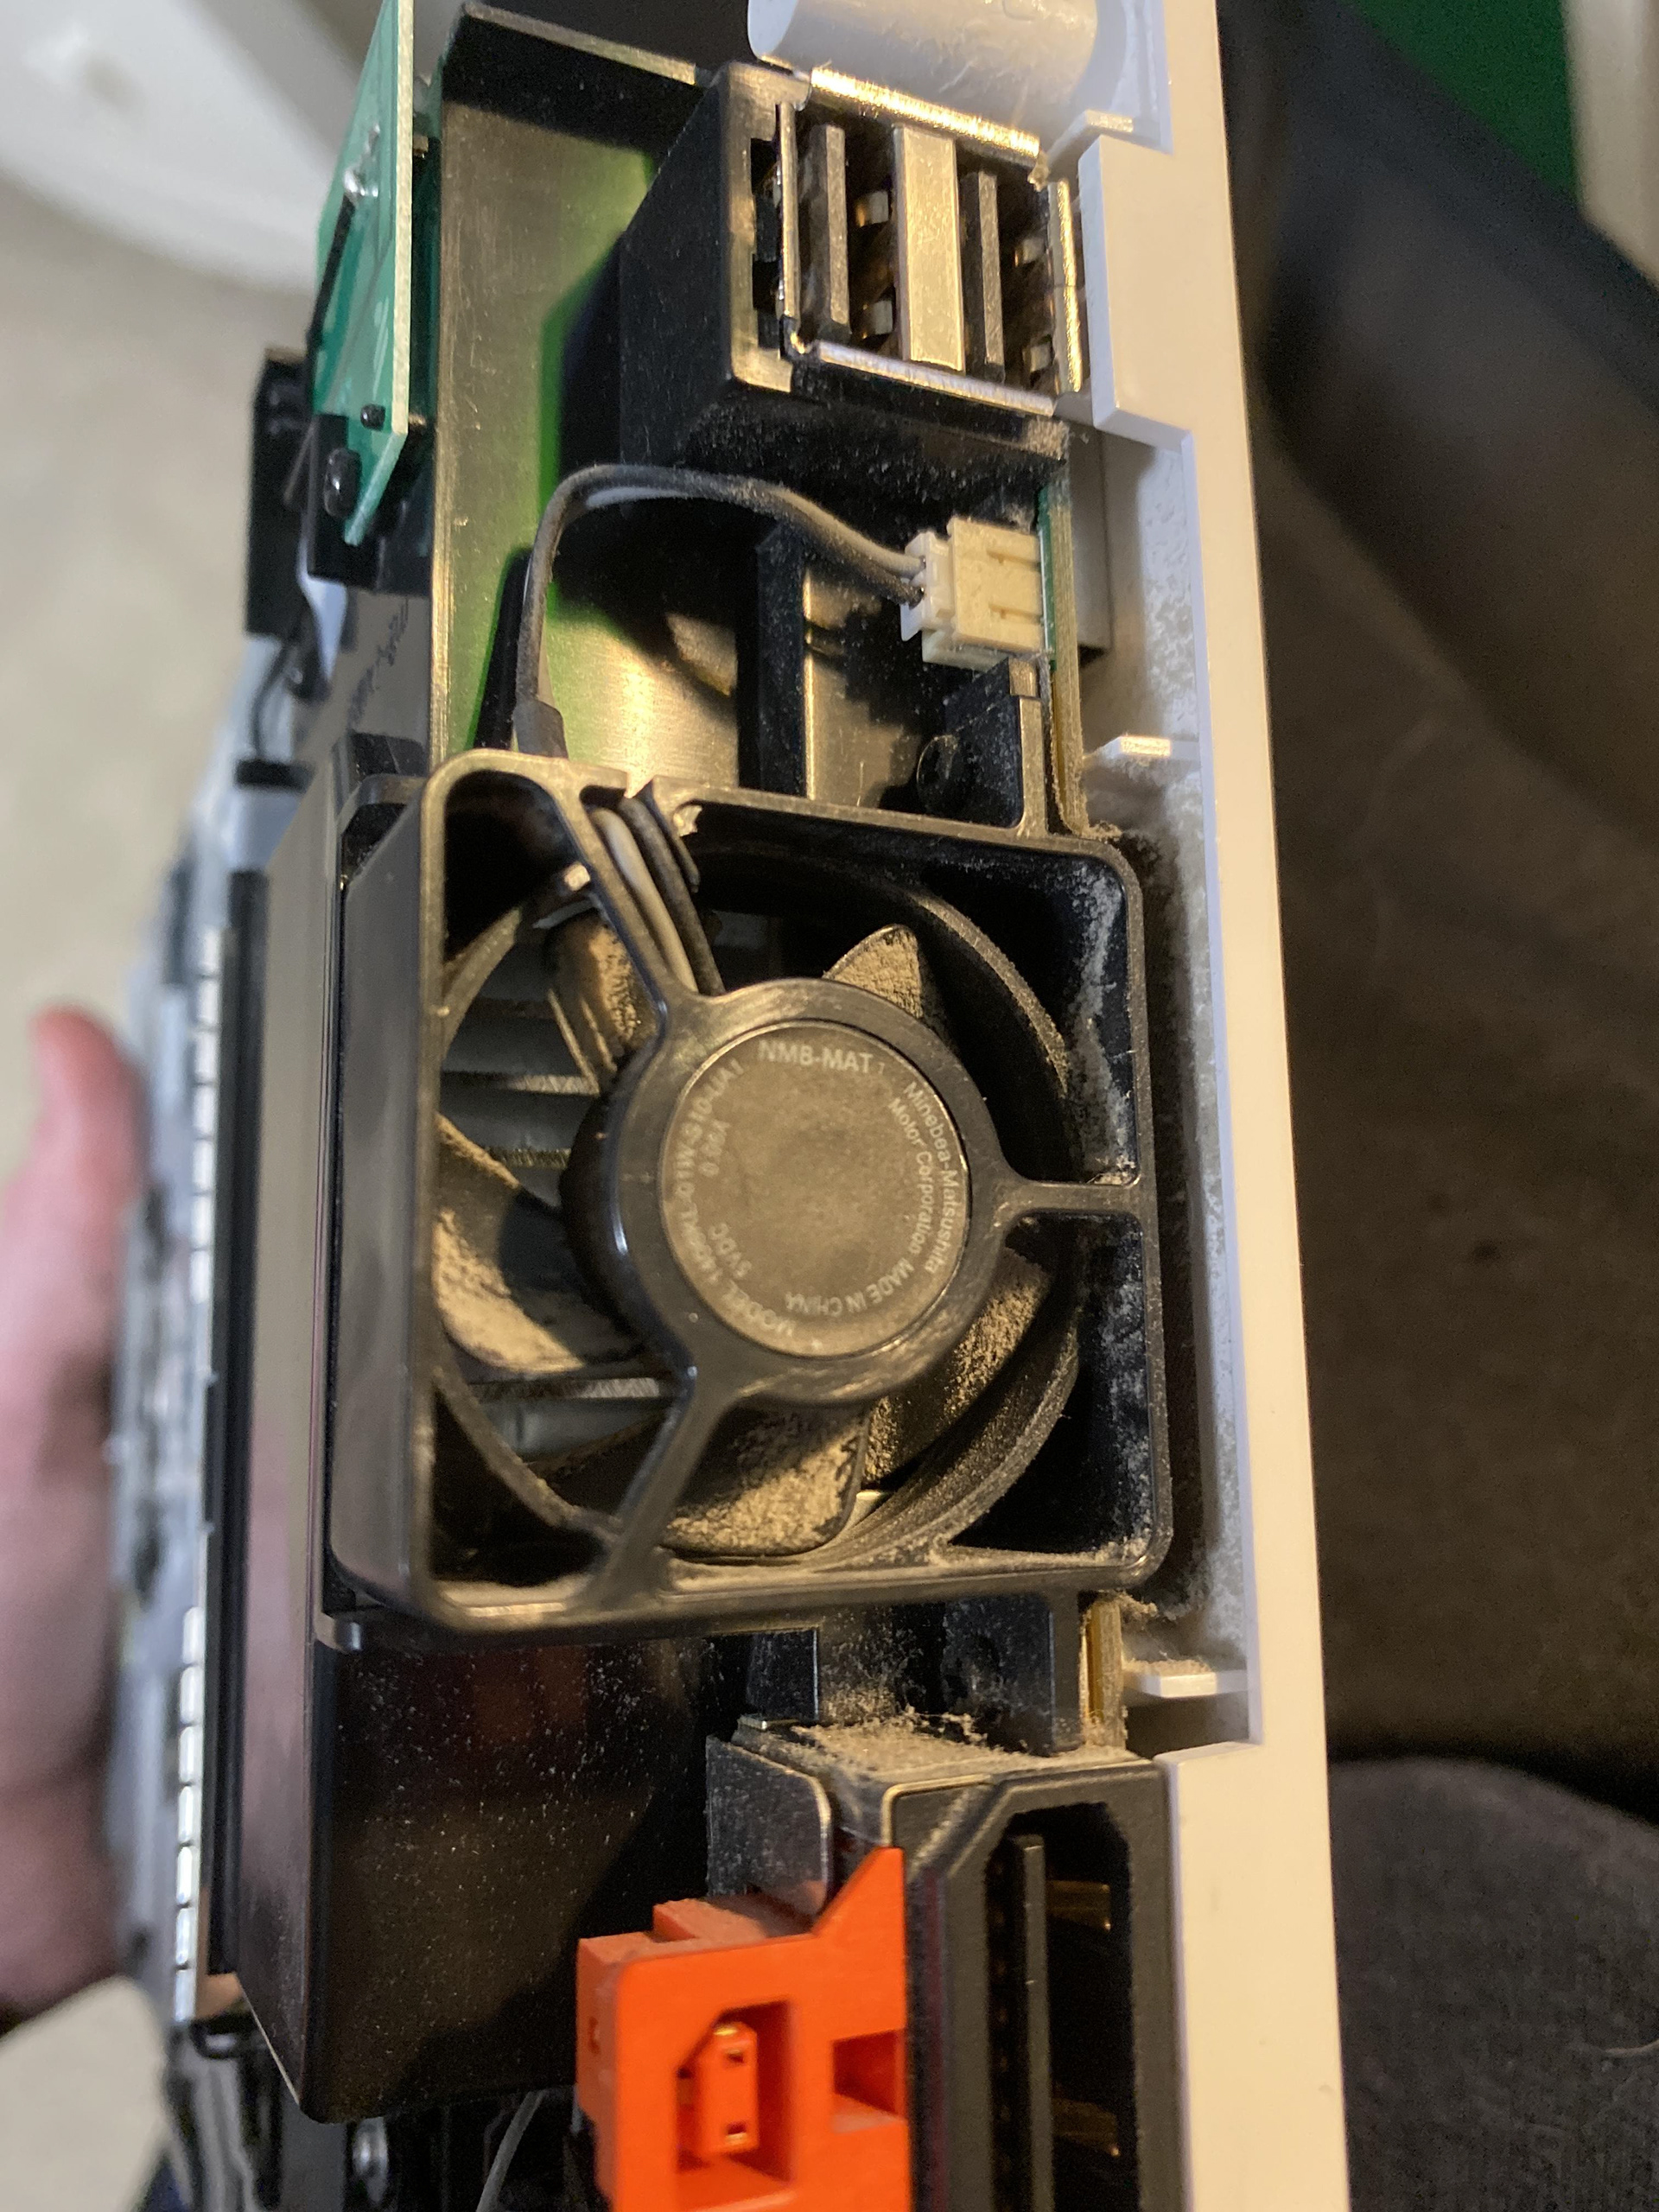
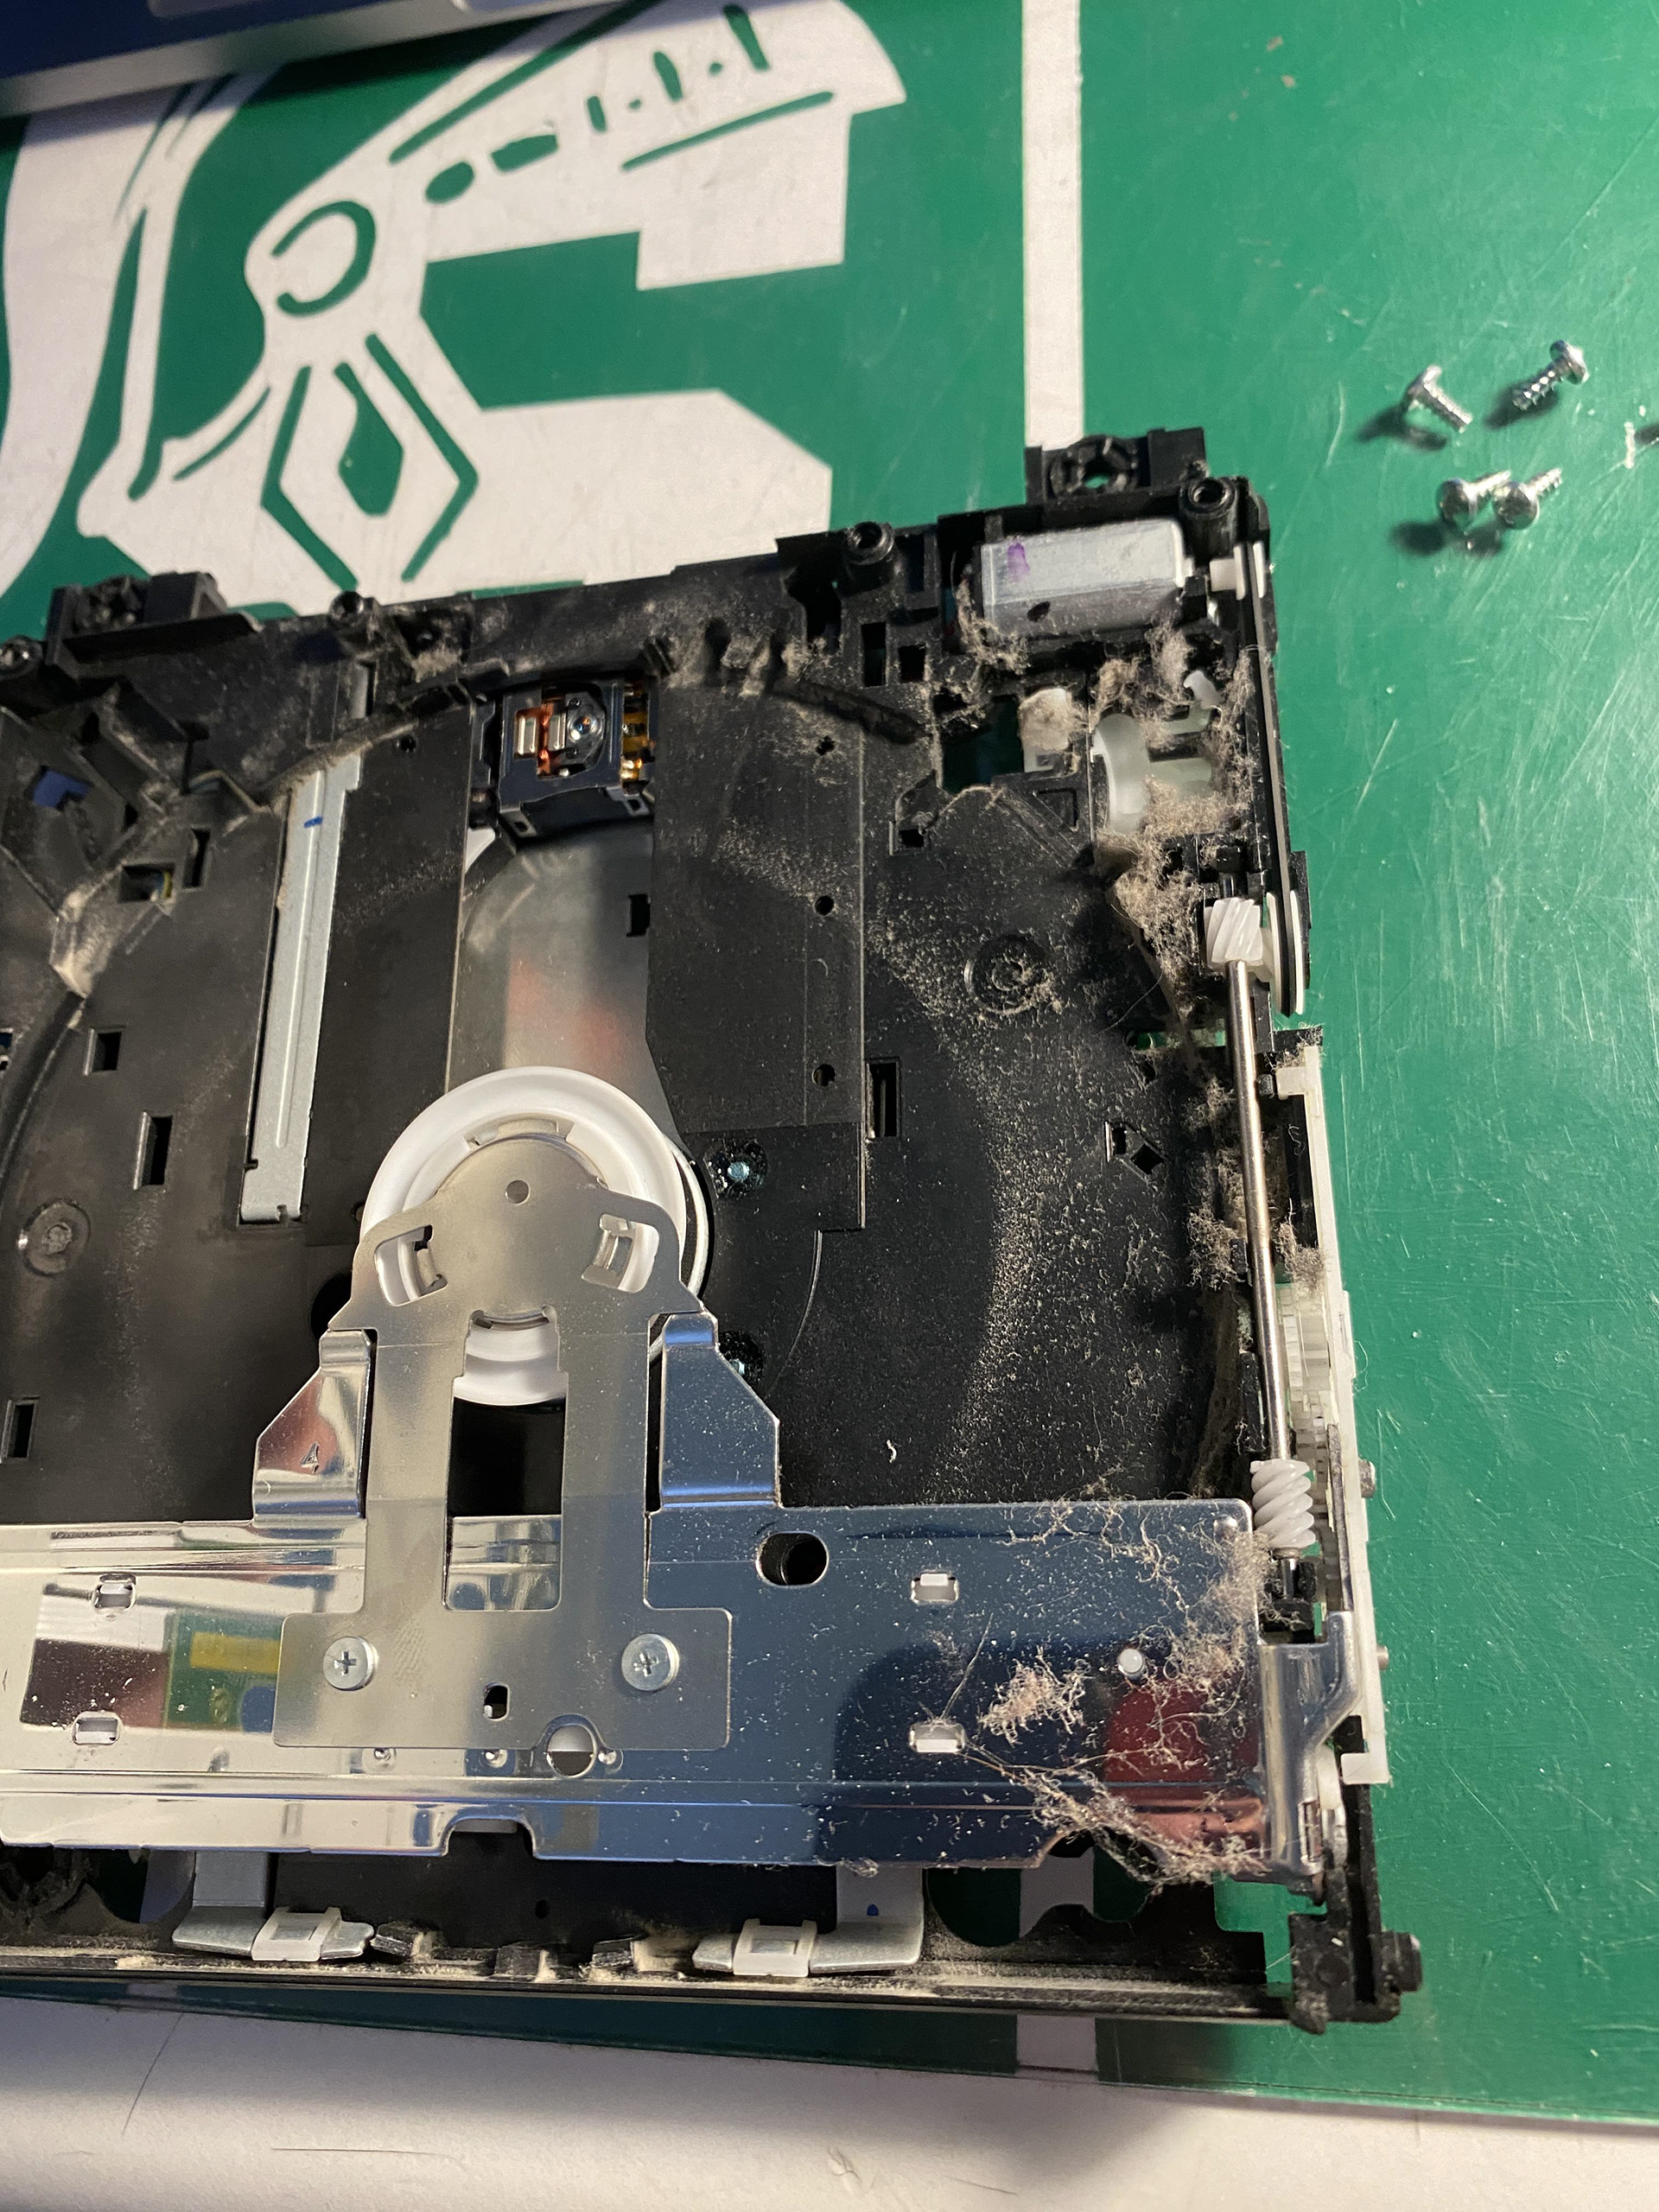
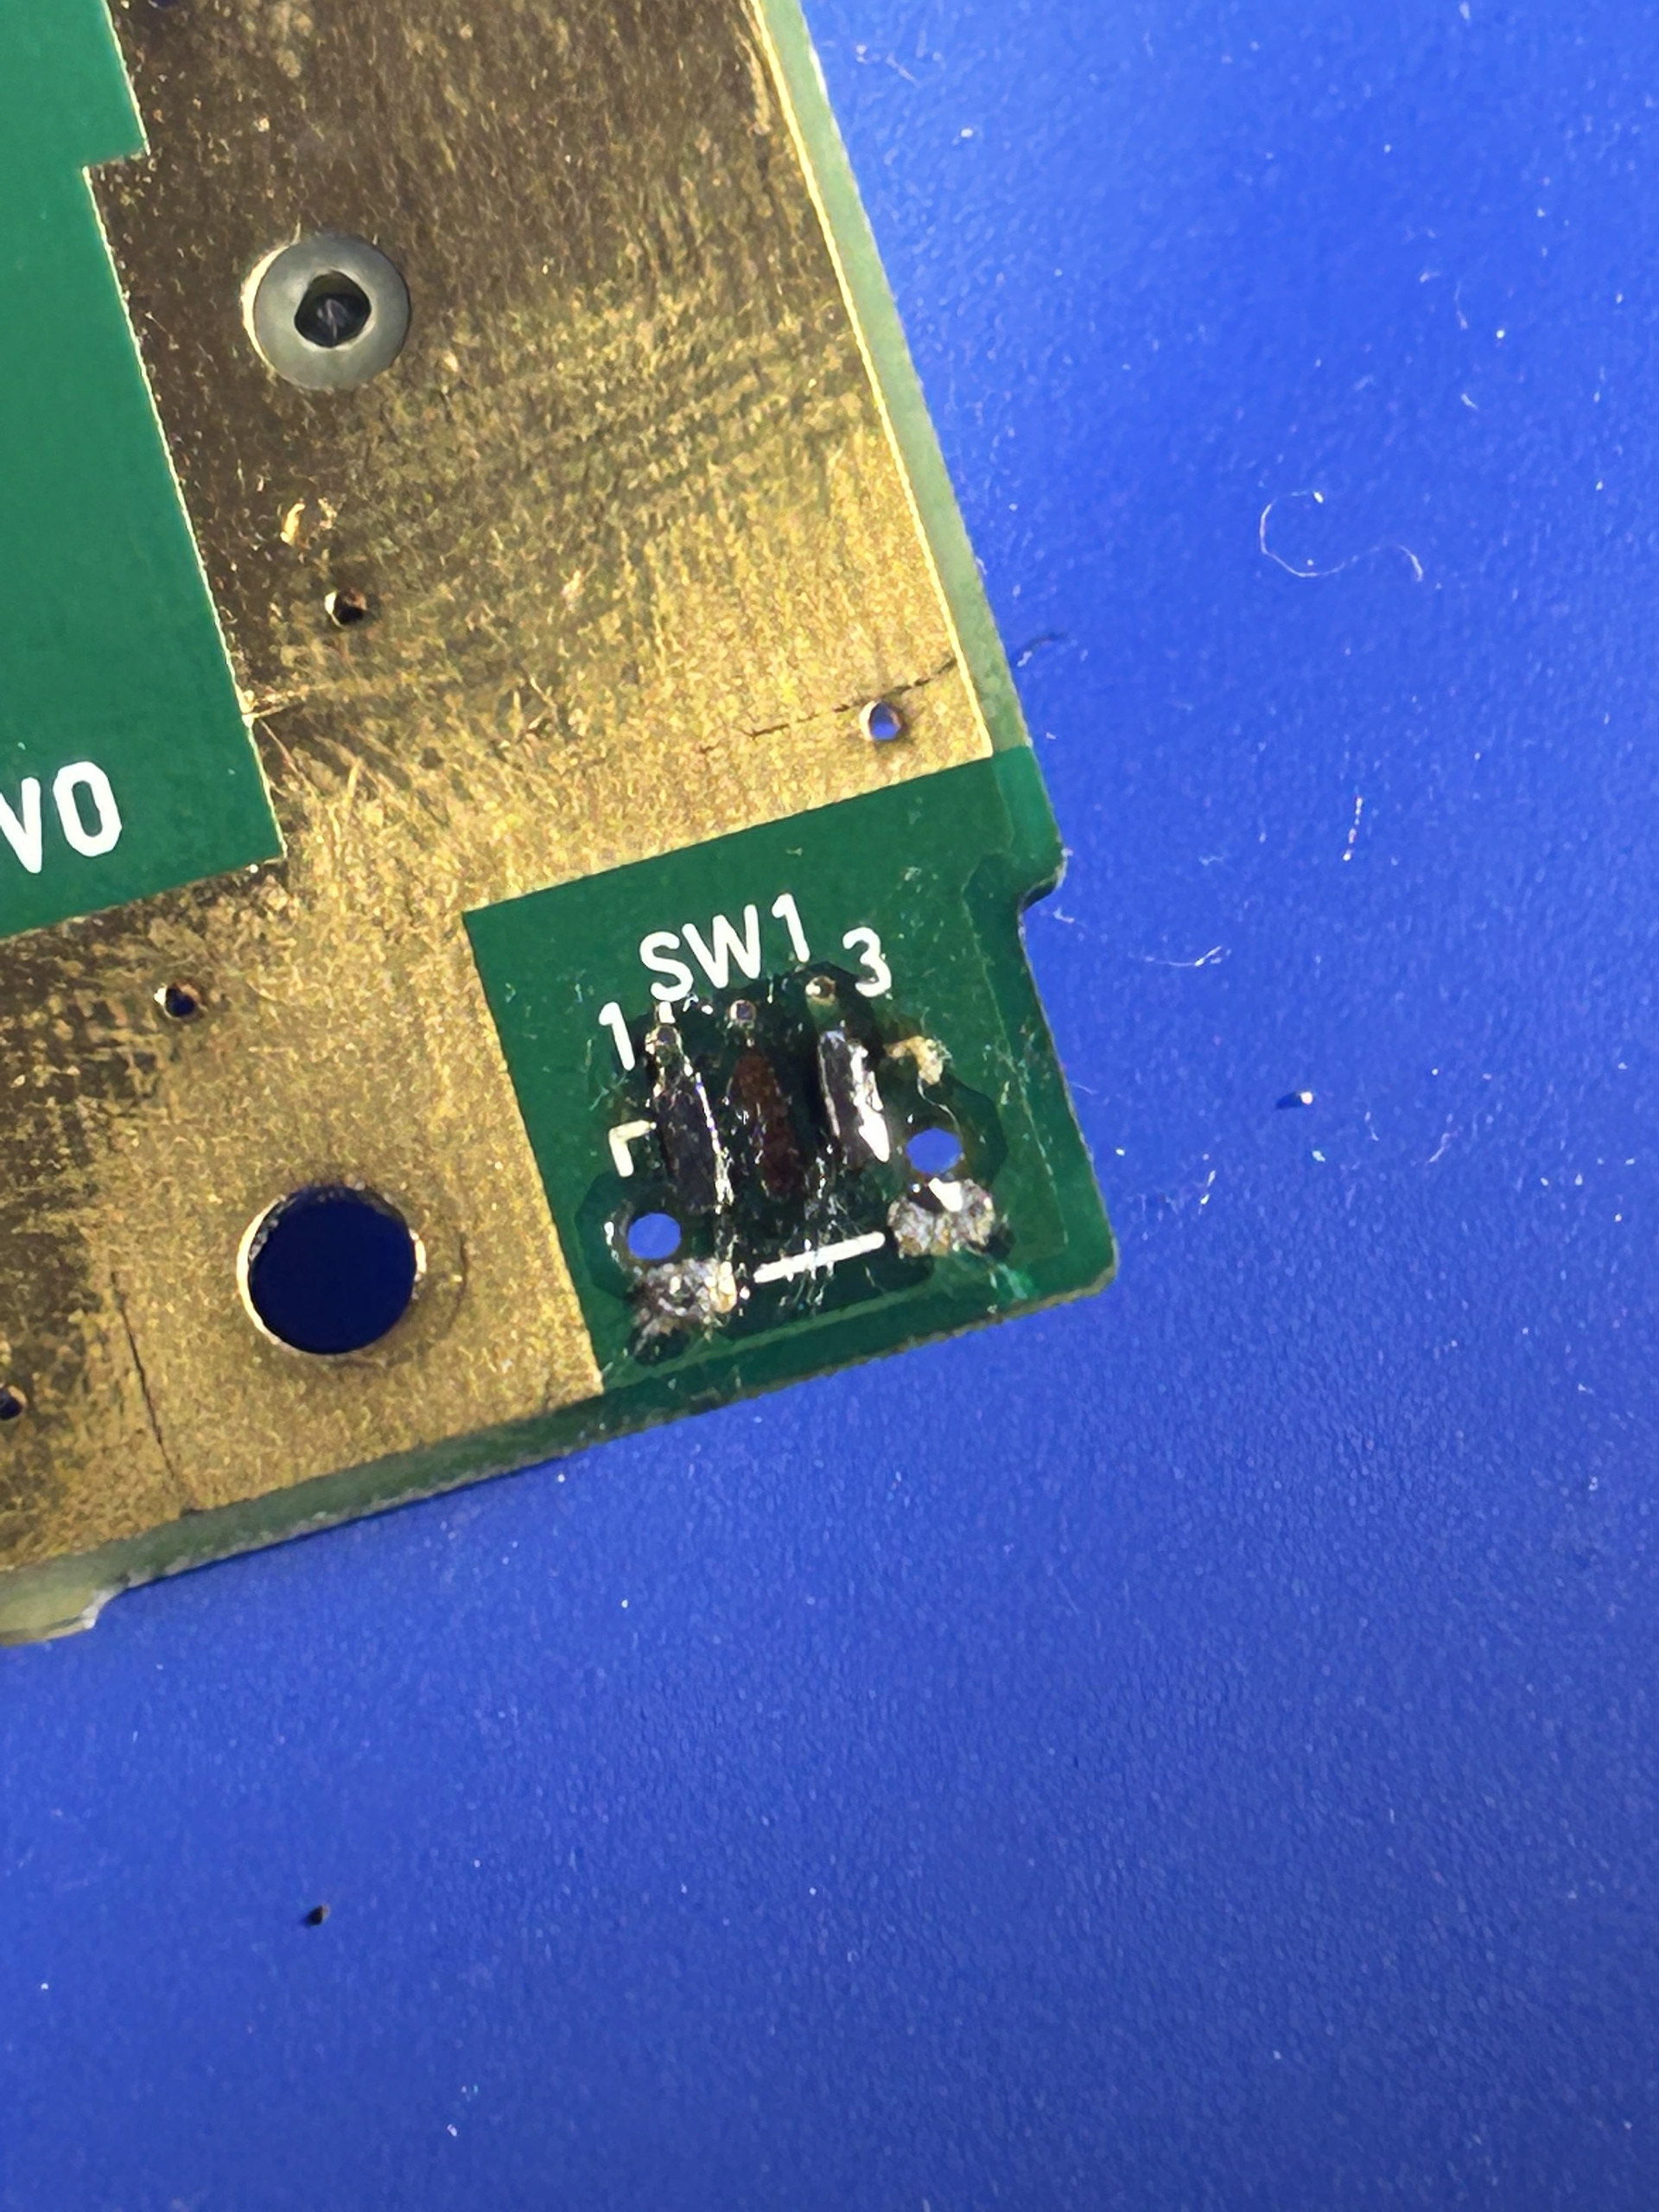
This was my first project that required circuit board repair. In 2021, my childhood Wii stopped reading discs. I took it apart to give the disc drive a good clean, and as you can see, it desperately needed it. There were no more issues reading discs after that! I also learned at that time that the Eject button was broken on the circuit board. At the time, I had no idea how to fix it, and it wasn’t a huge issue because it would still register presses from some angles.
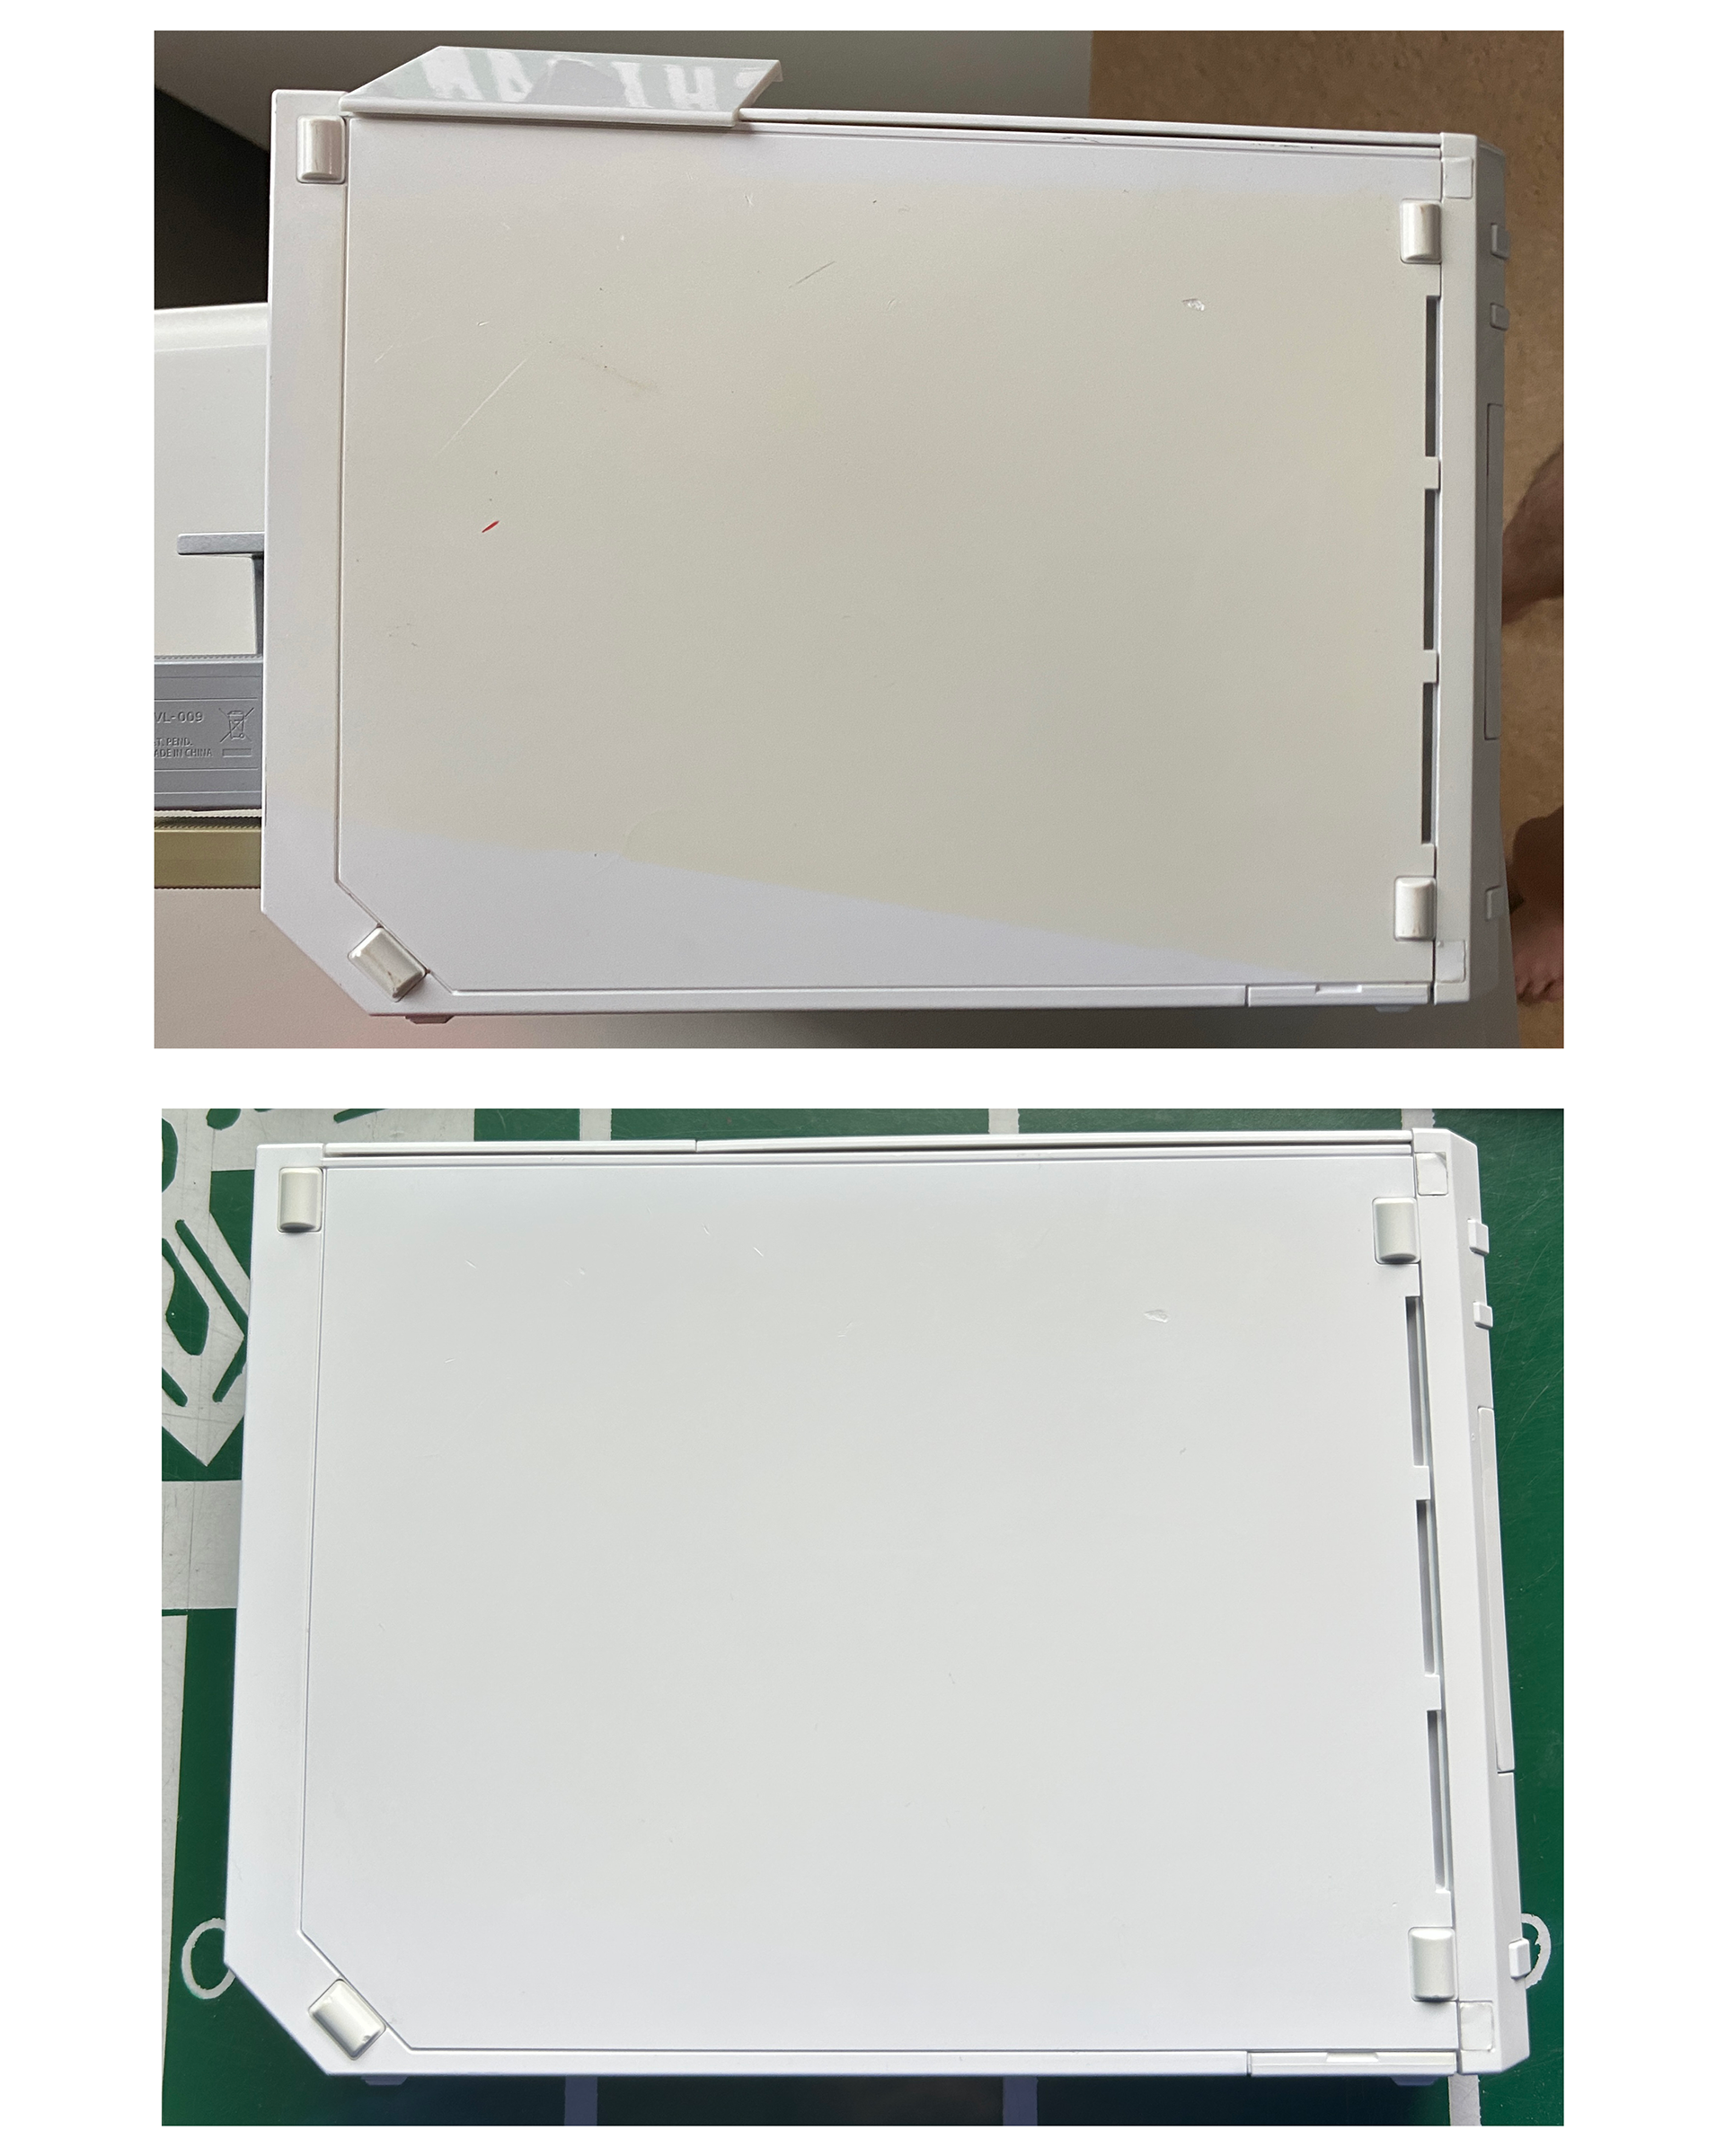
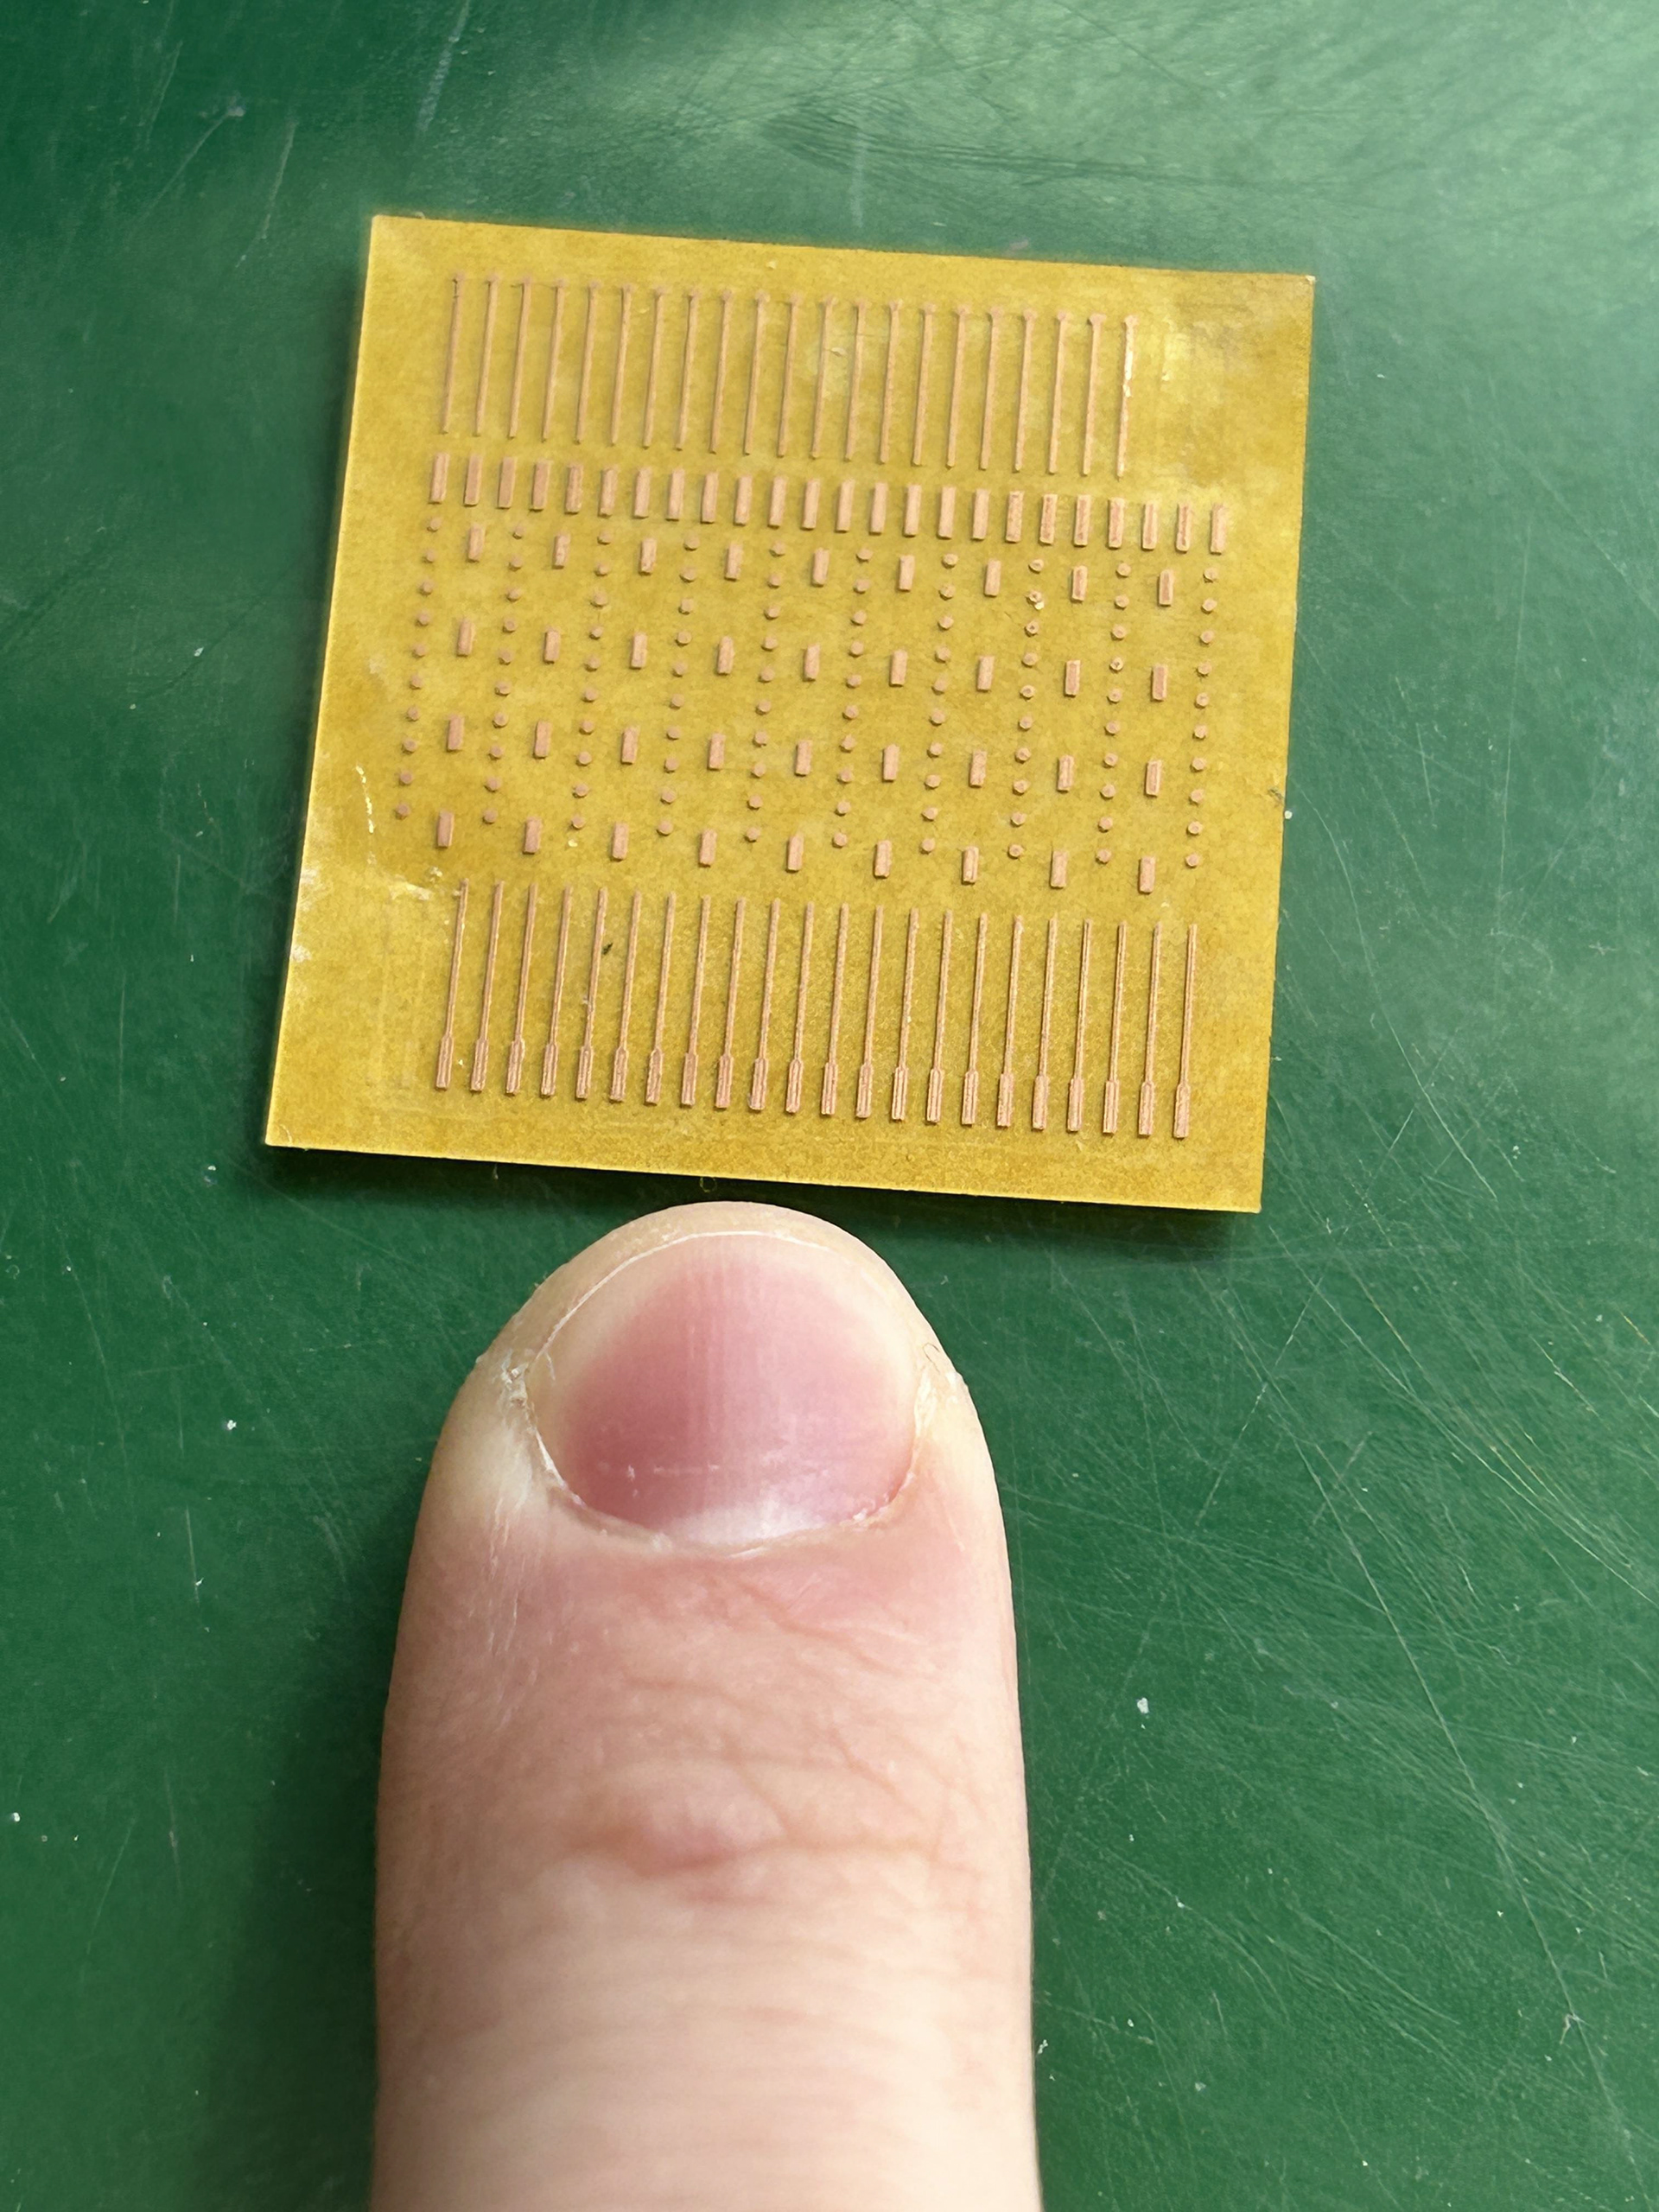
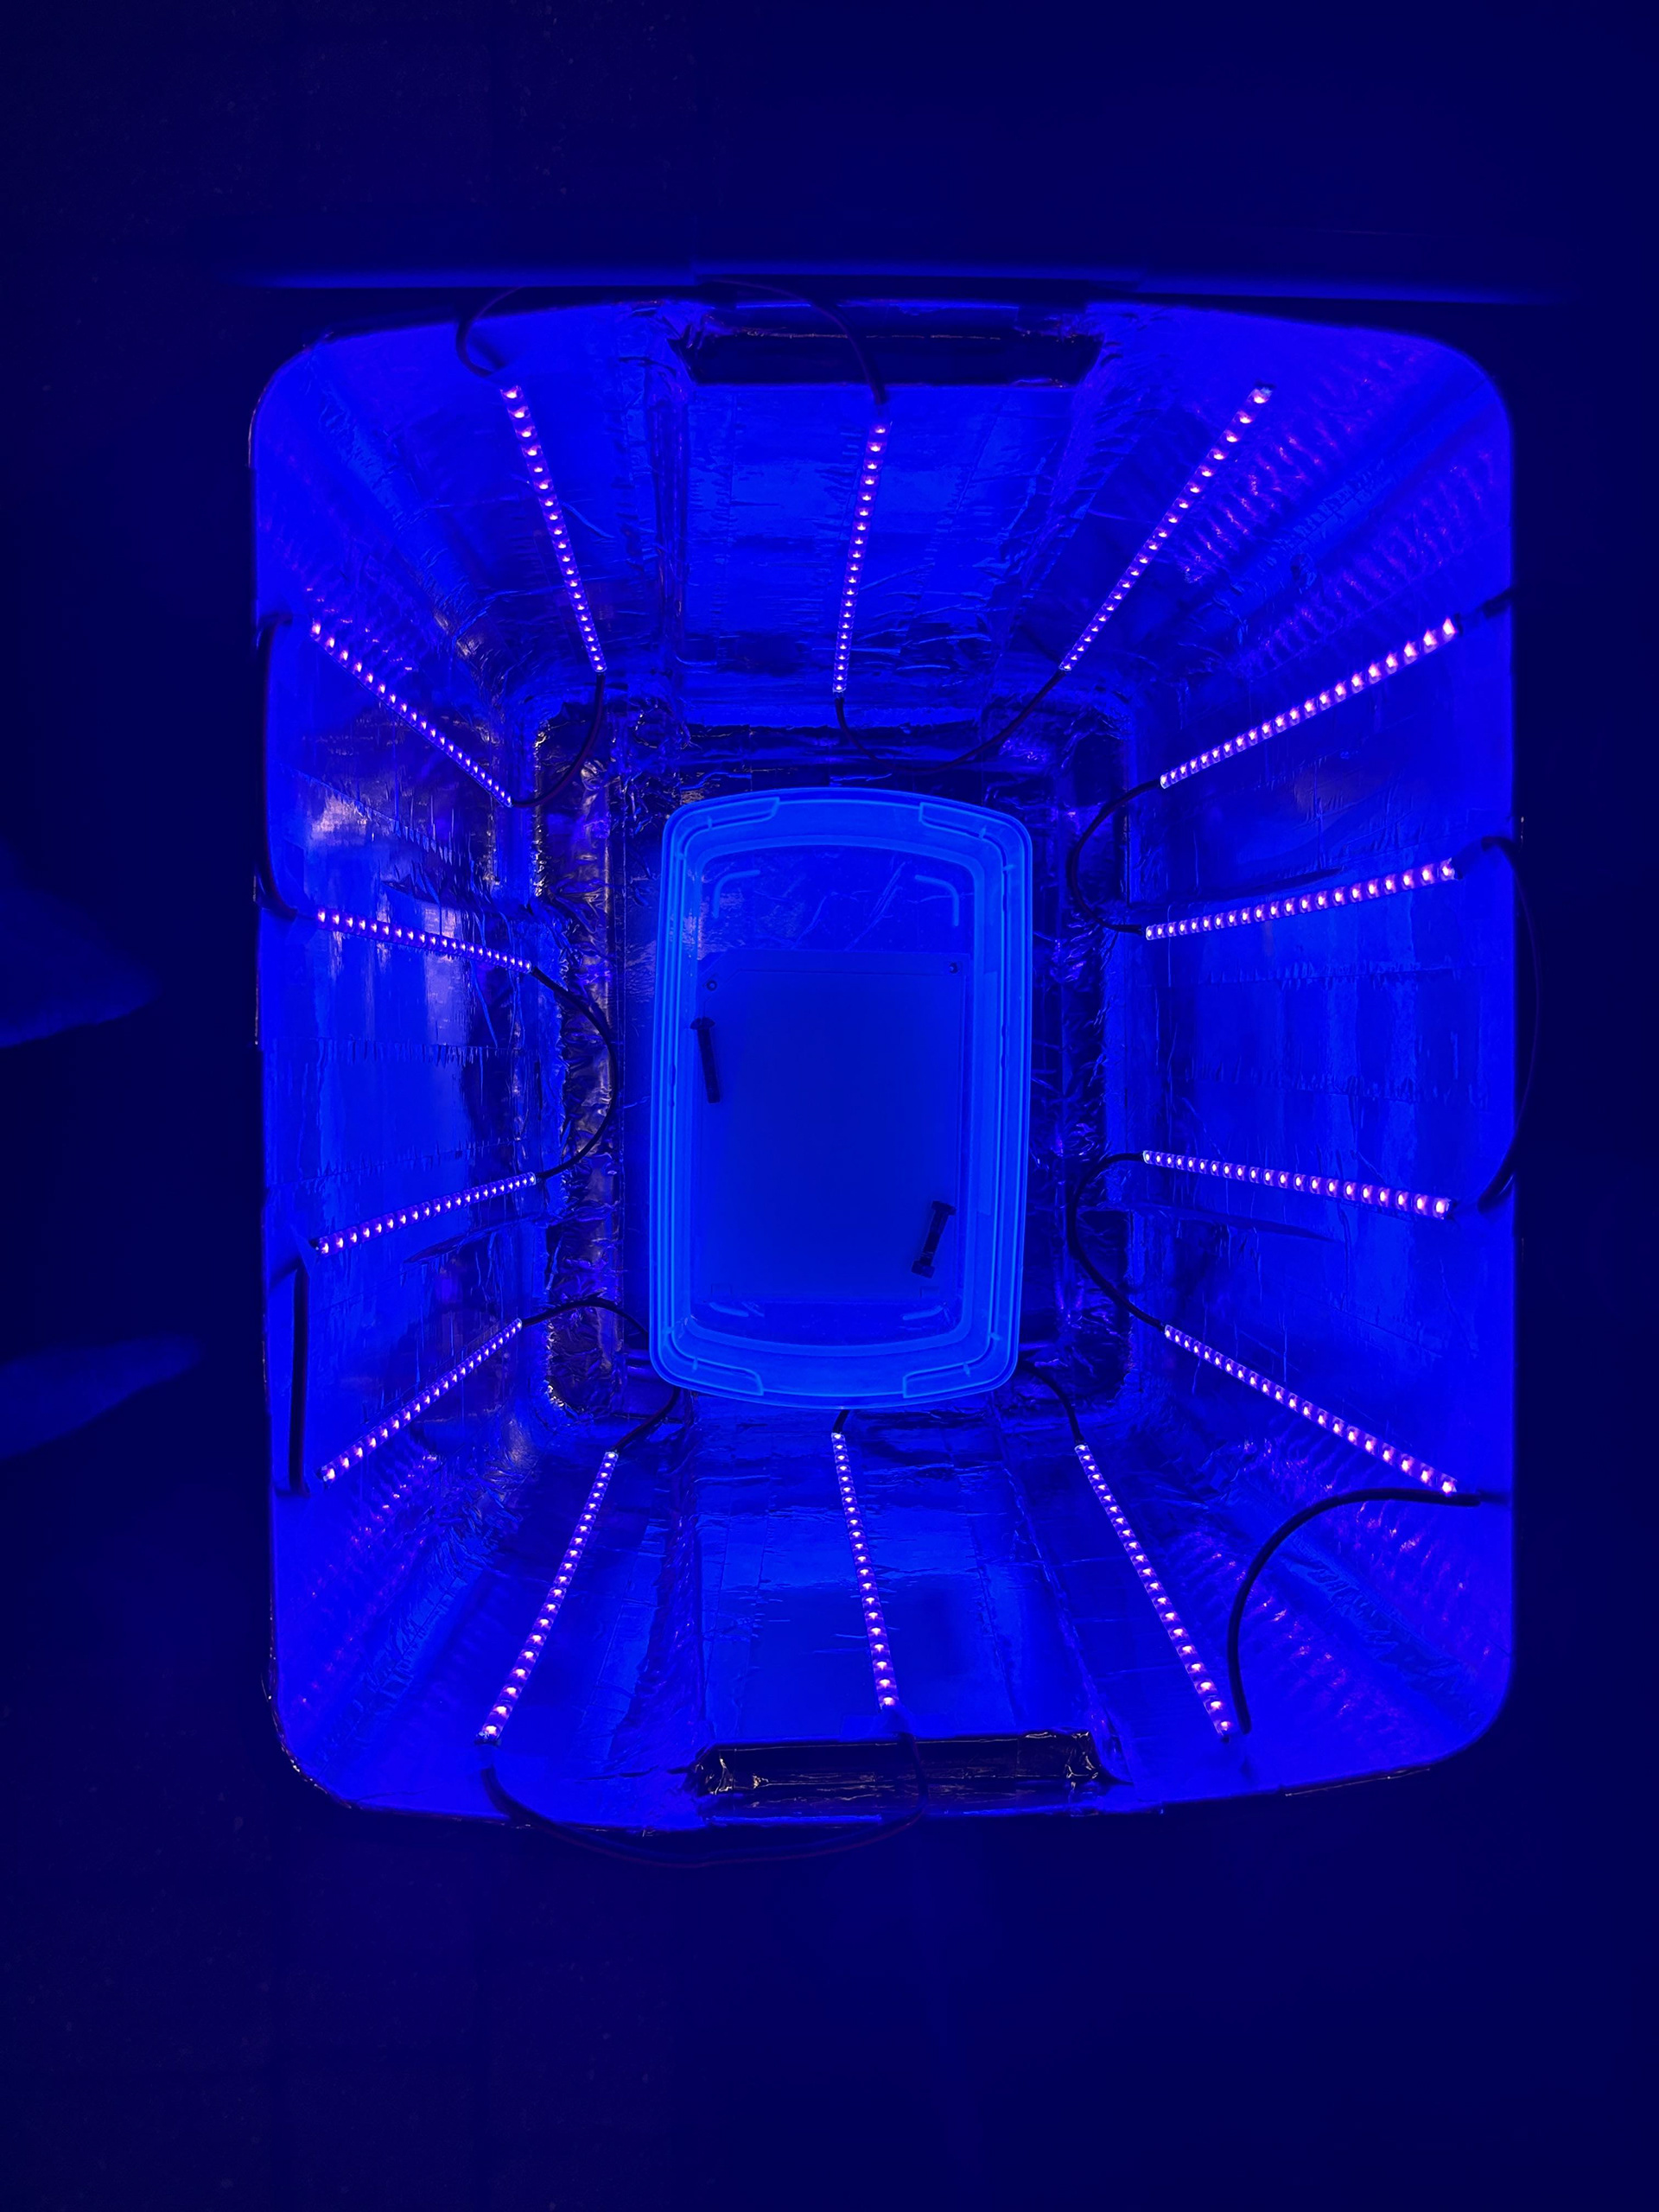
In 2023 I decided to give it another go, and attempted to fix the button and restore the cosmetic issues on the shell. After a complete disassembly of the Wii, I submerged the outer shell in my Retrobrighting station and left it there for days. It removed the yellowing entirely. A magic eraser and plastic polish repaired most of the other dings and scratches on the shell. I was way out of my depths with the button. It was my first circuit board soldering job and I was unprepared for how difficult it would be. In removing the old button, I accidentally ripped off one of the solder pads. I was DEVASTATED and thought I had completely broken my childhood Wii past the point of no repair. After some research, I found out that it was able to be fixed, but I knew I wasn’t ready for it yet.
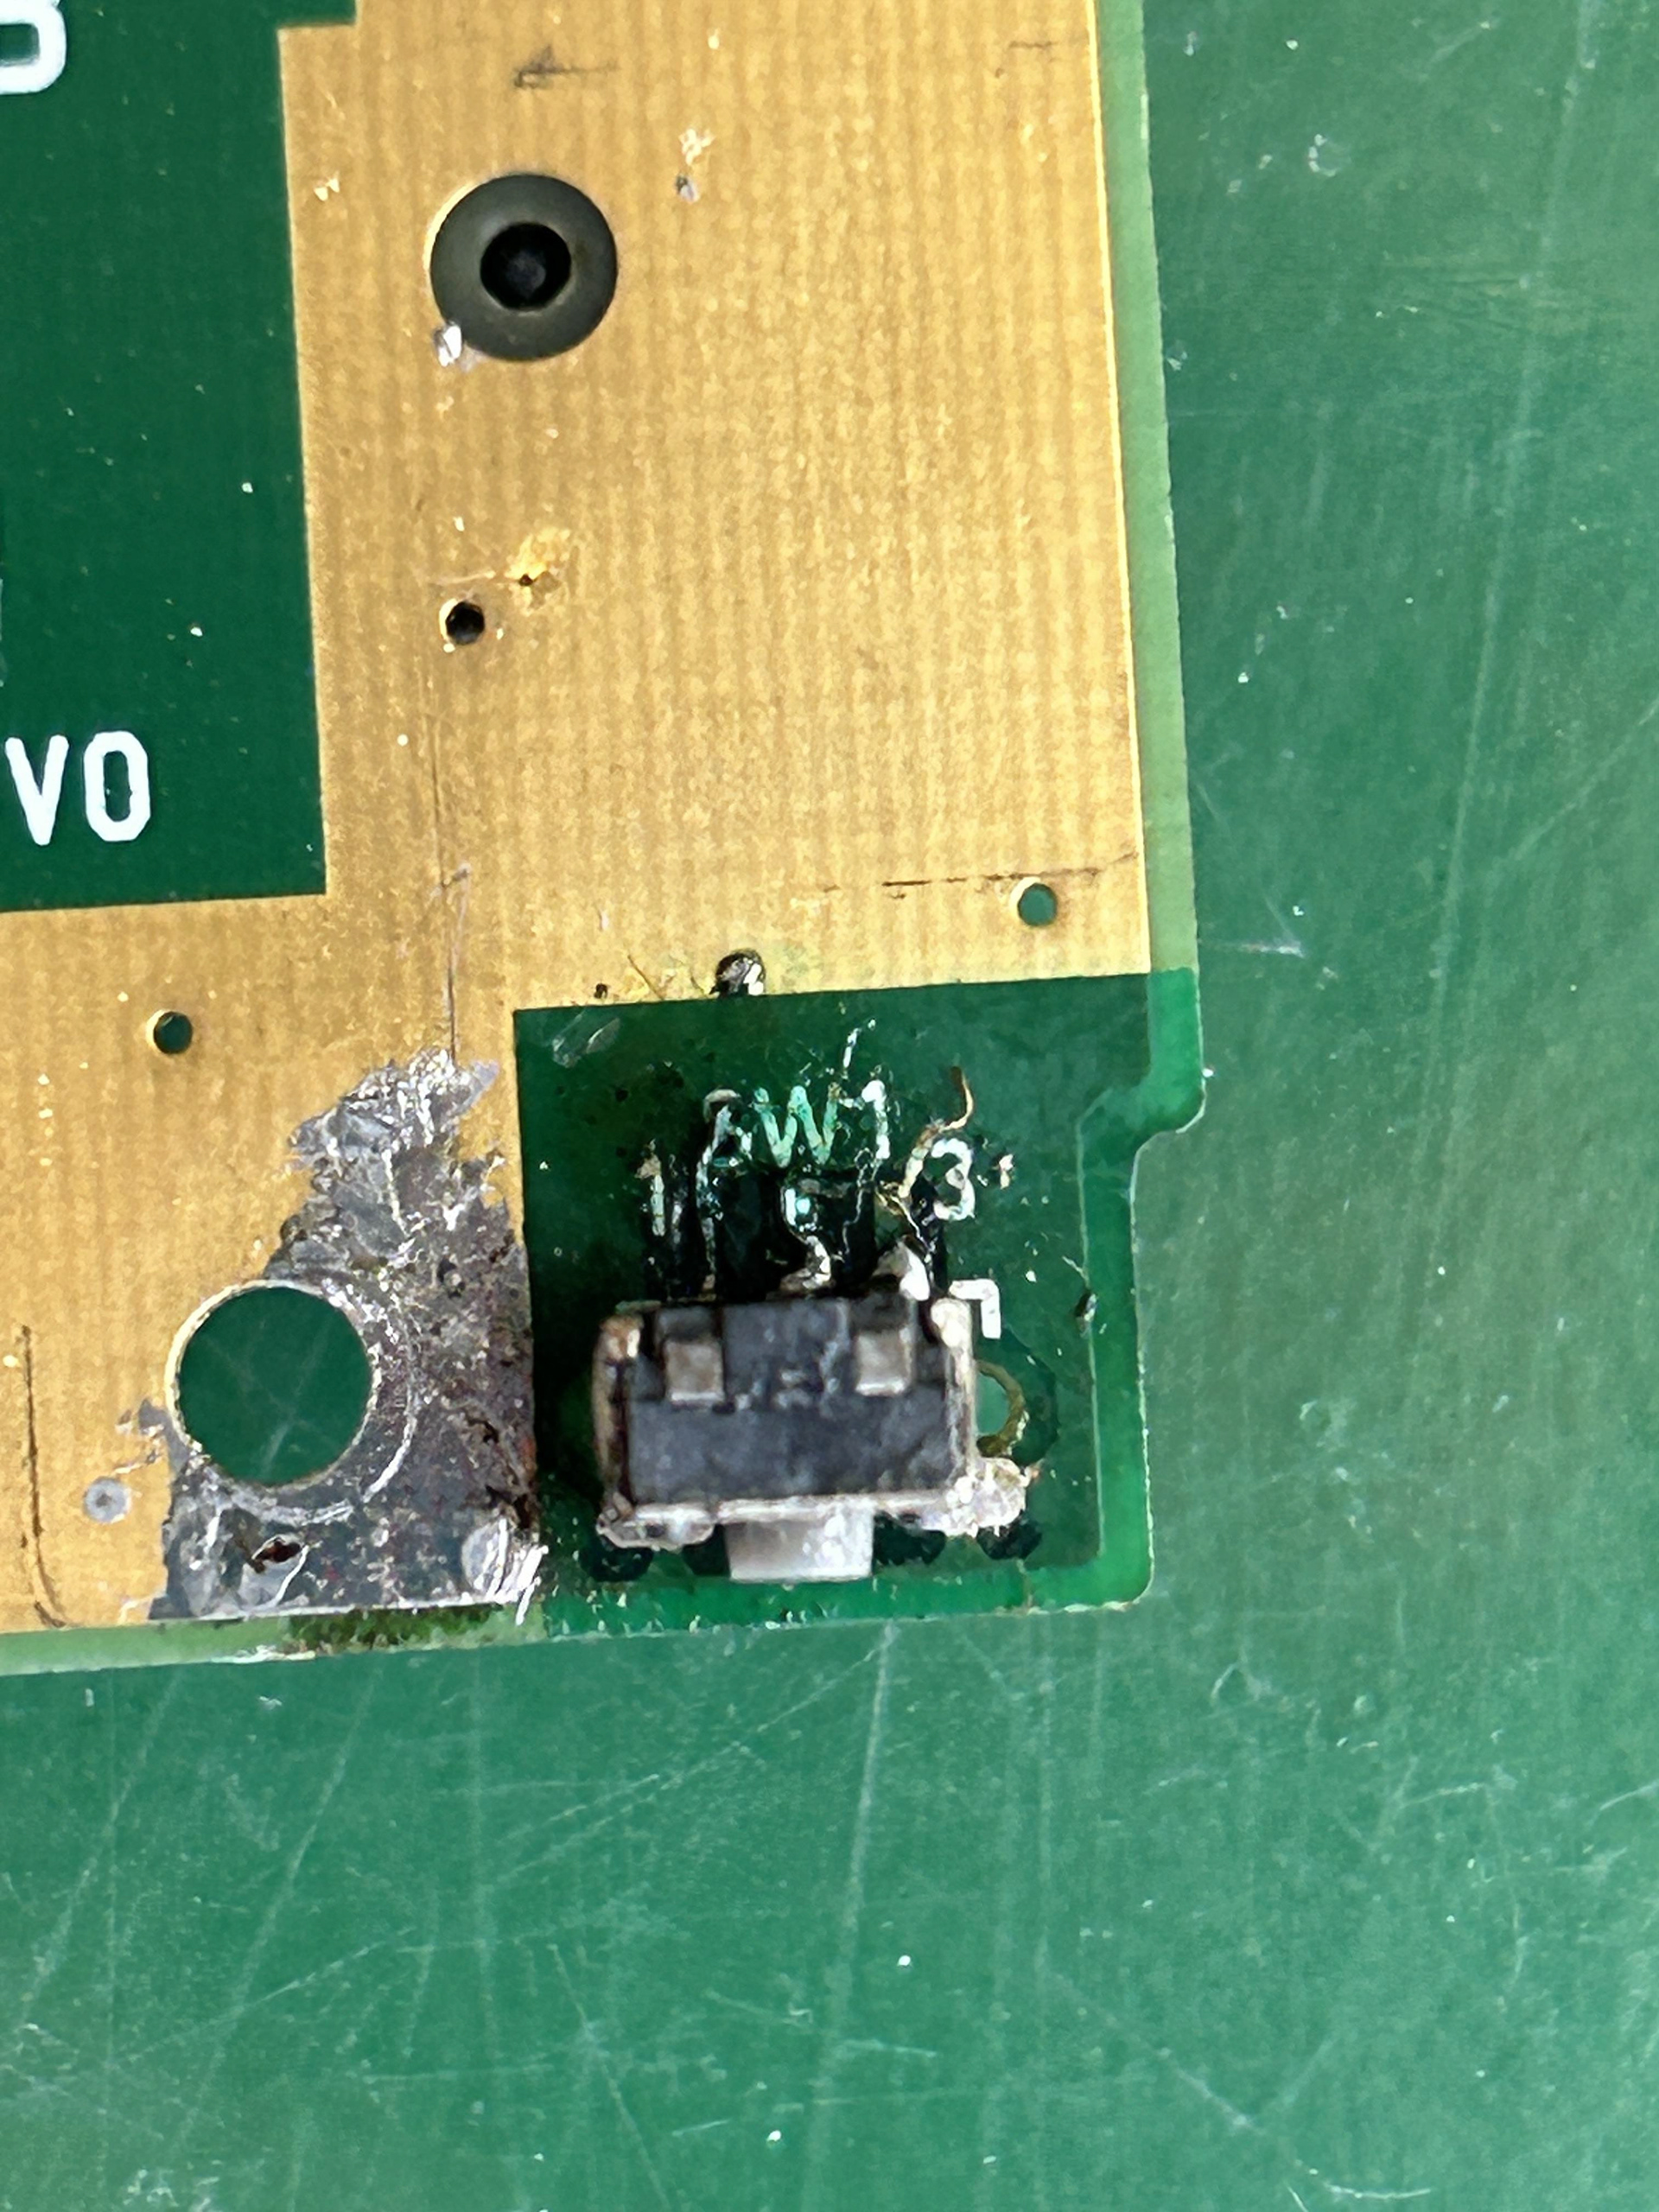
Fast forward a few months of soldering practice on junk boards, I was ready to try again. I reattached the pad and soldered on the new button. Now, the Wii is as good as new!