
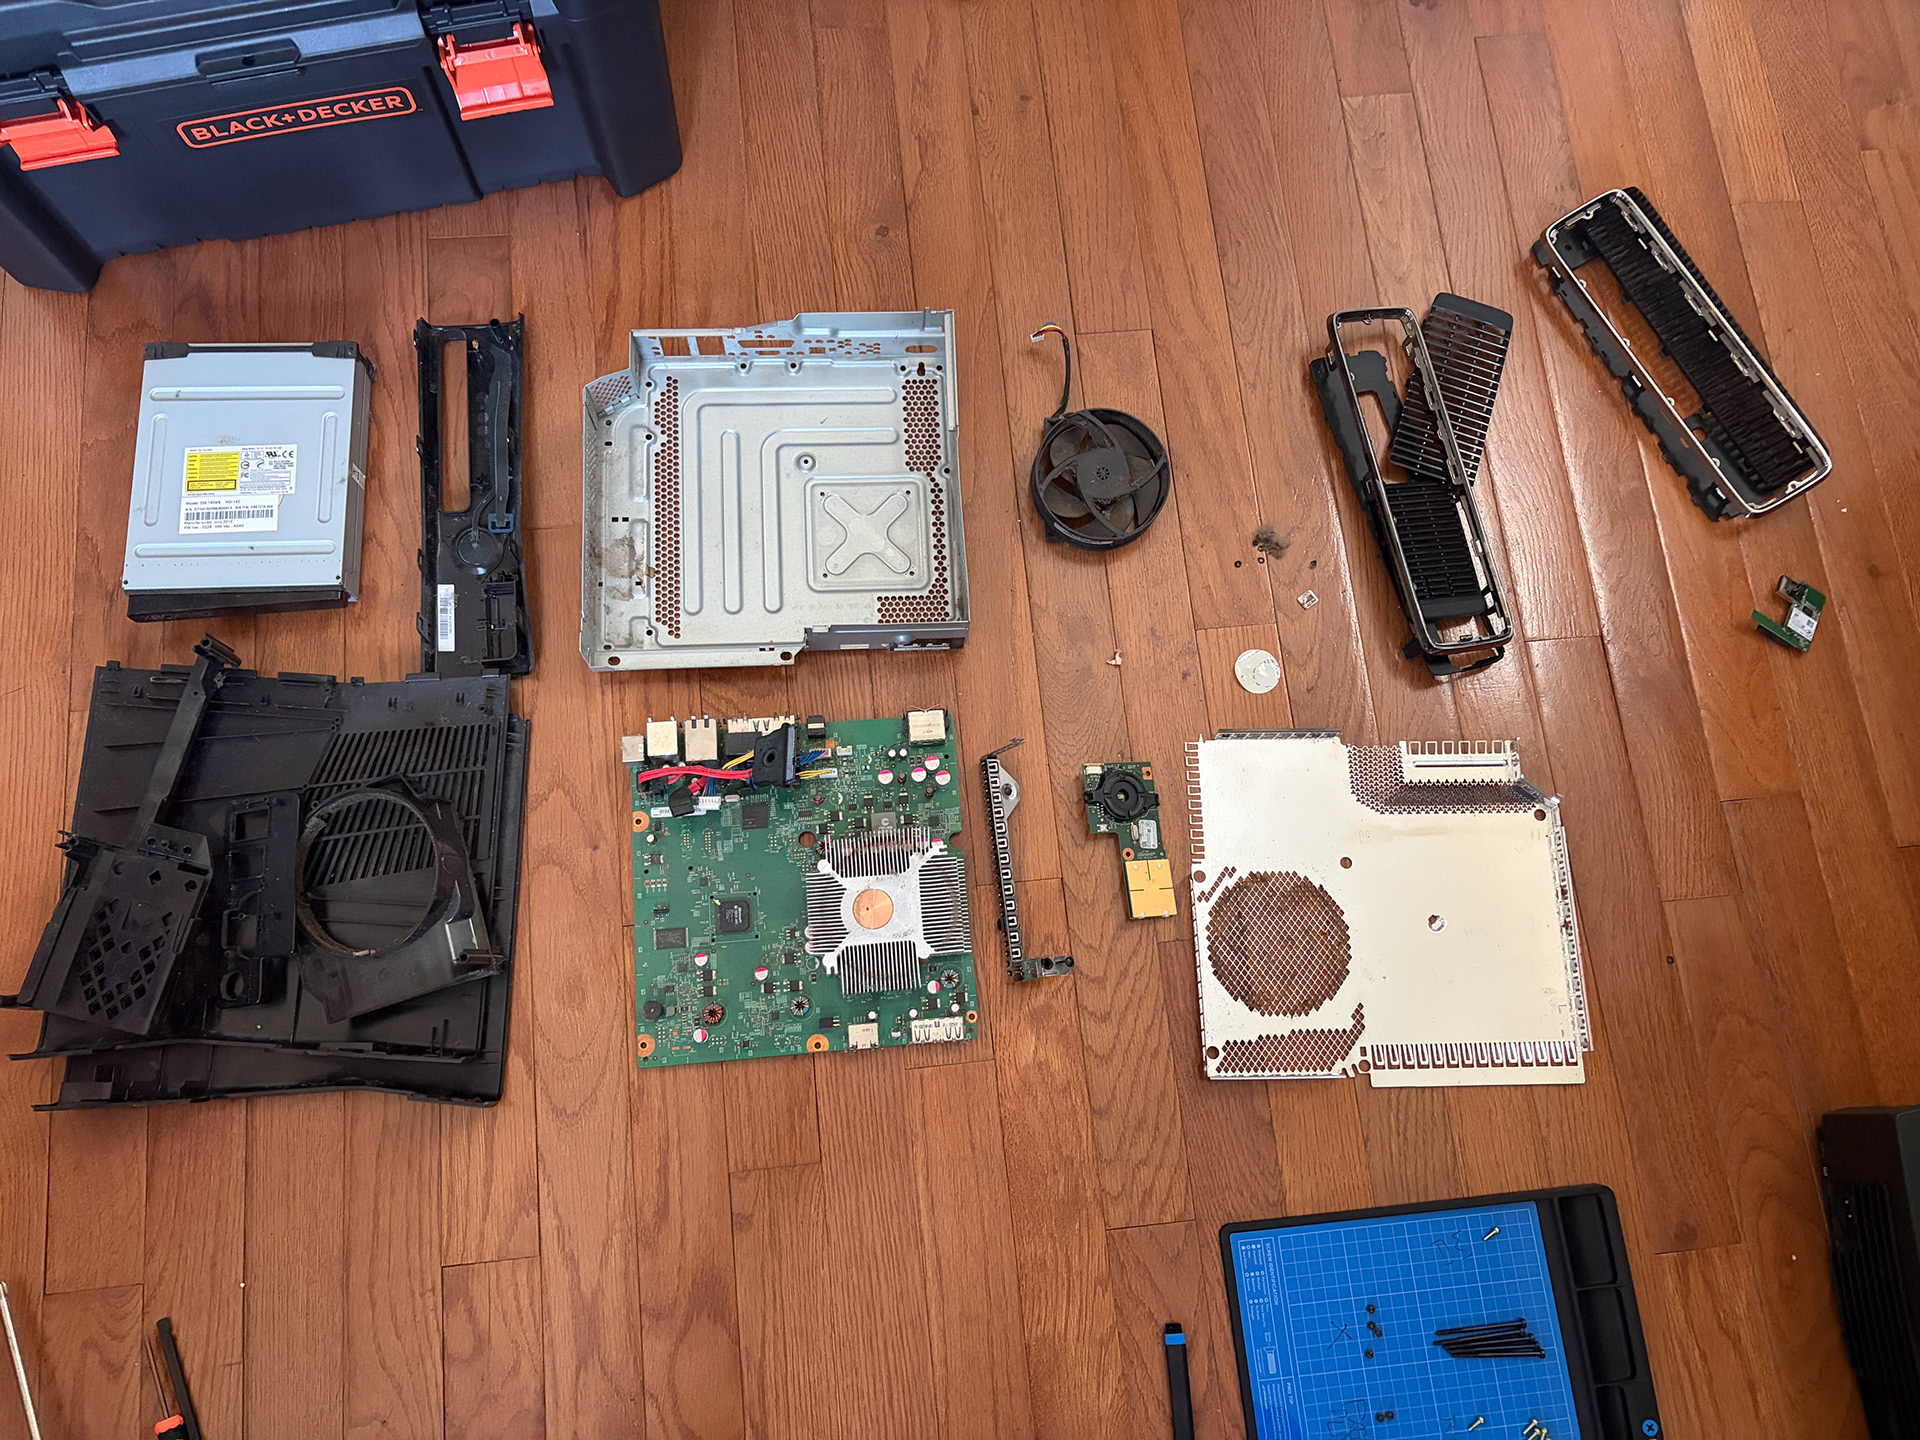
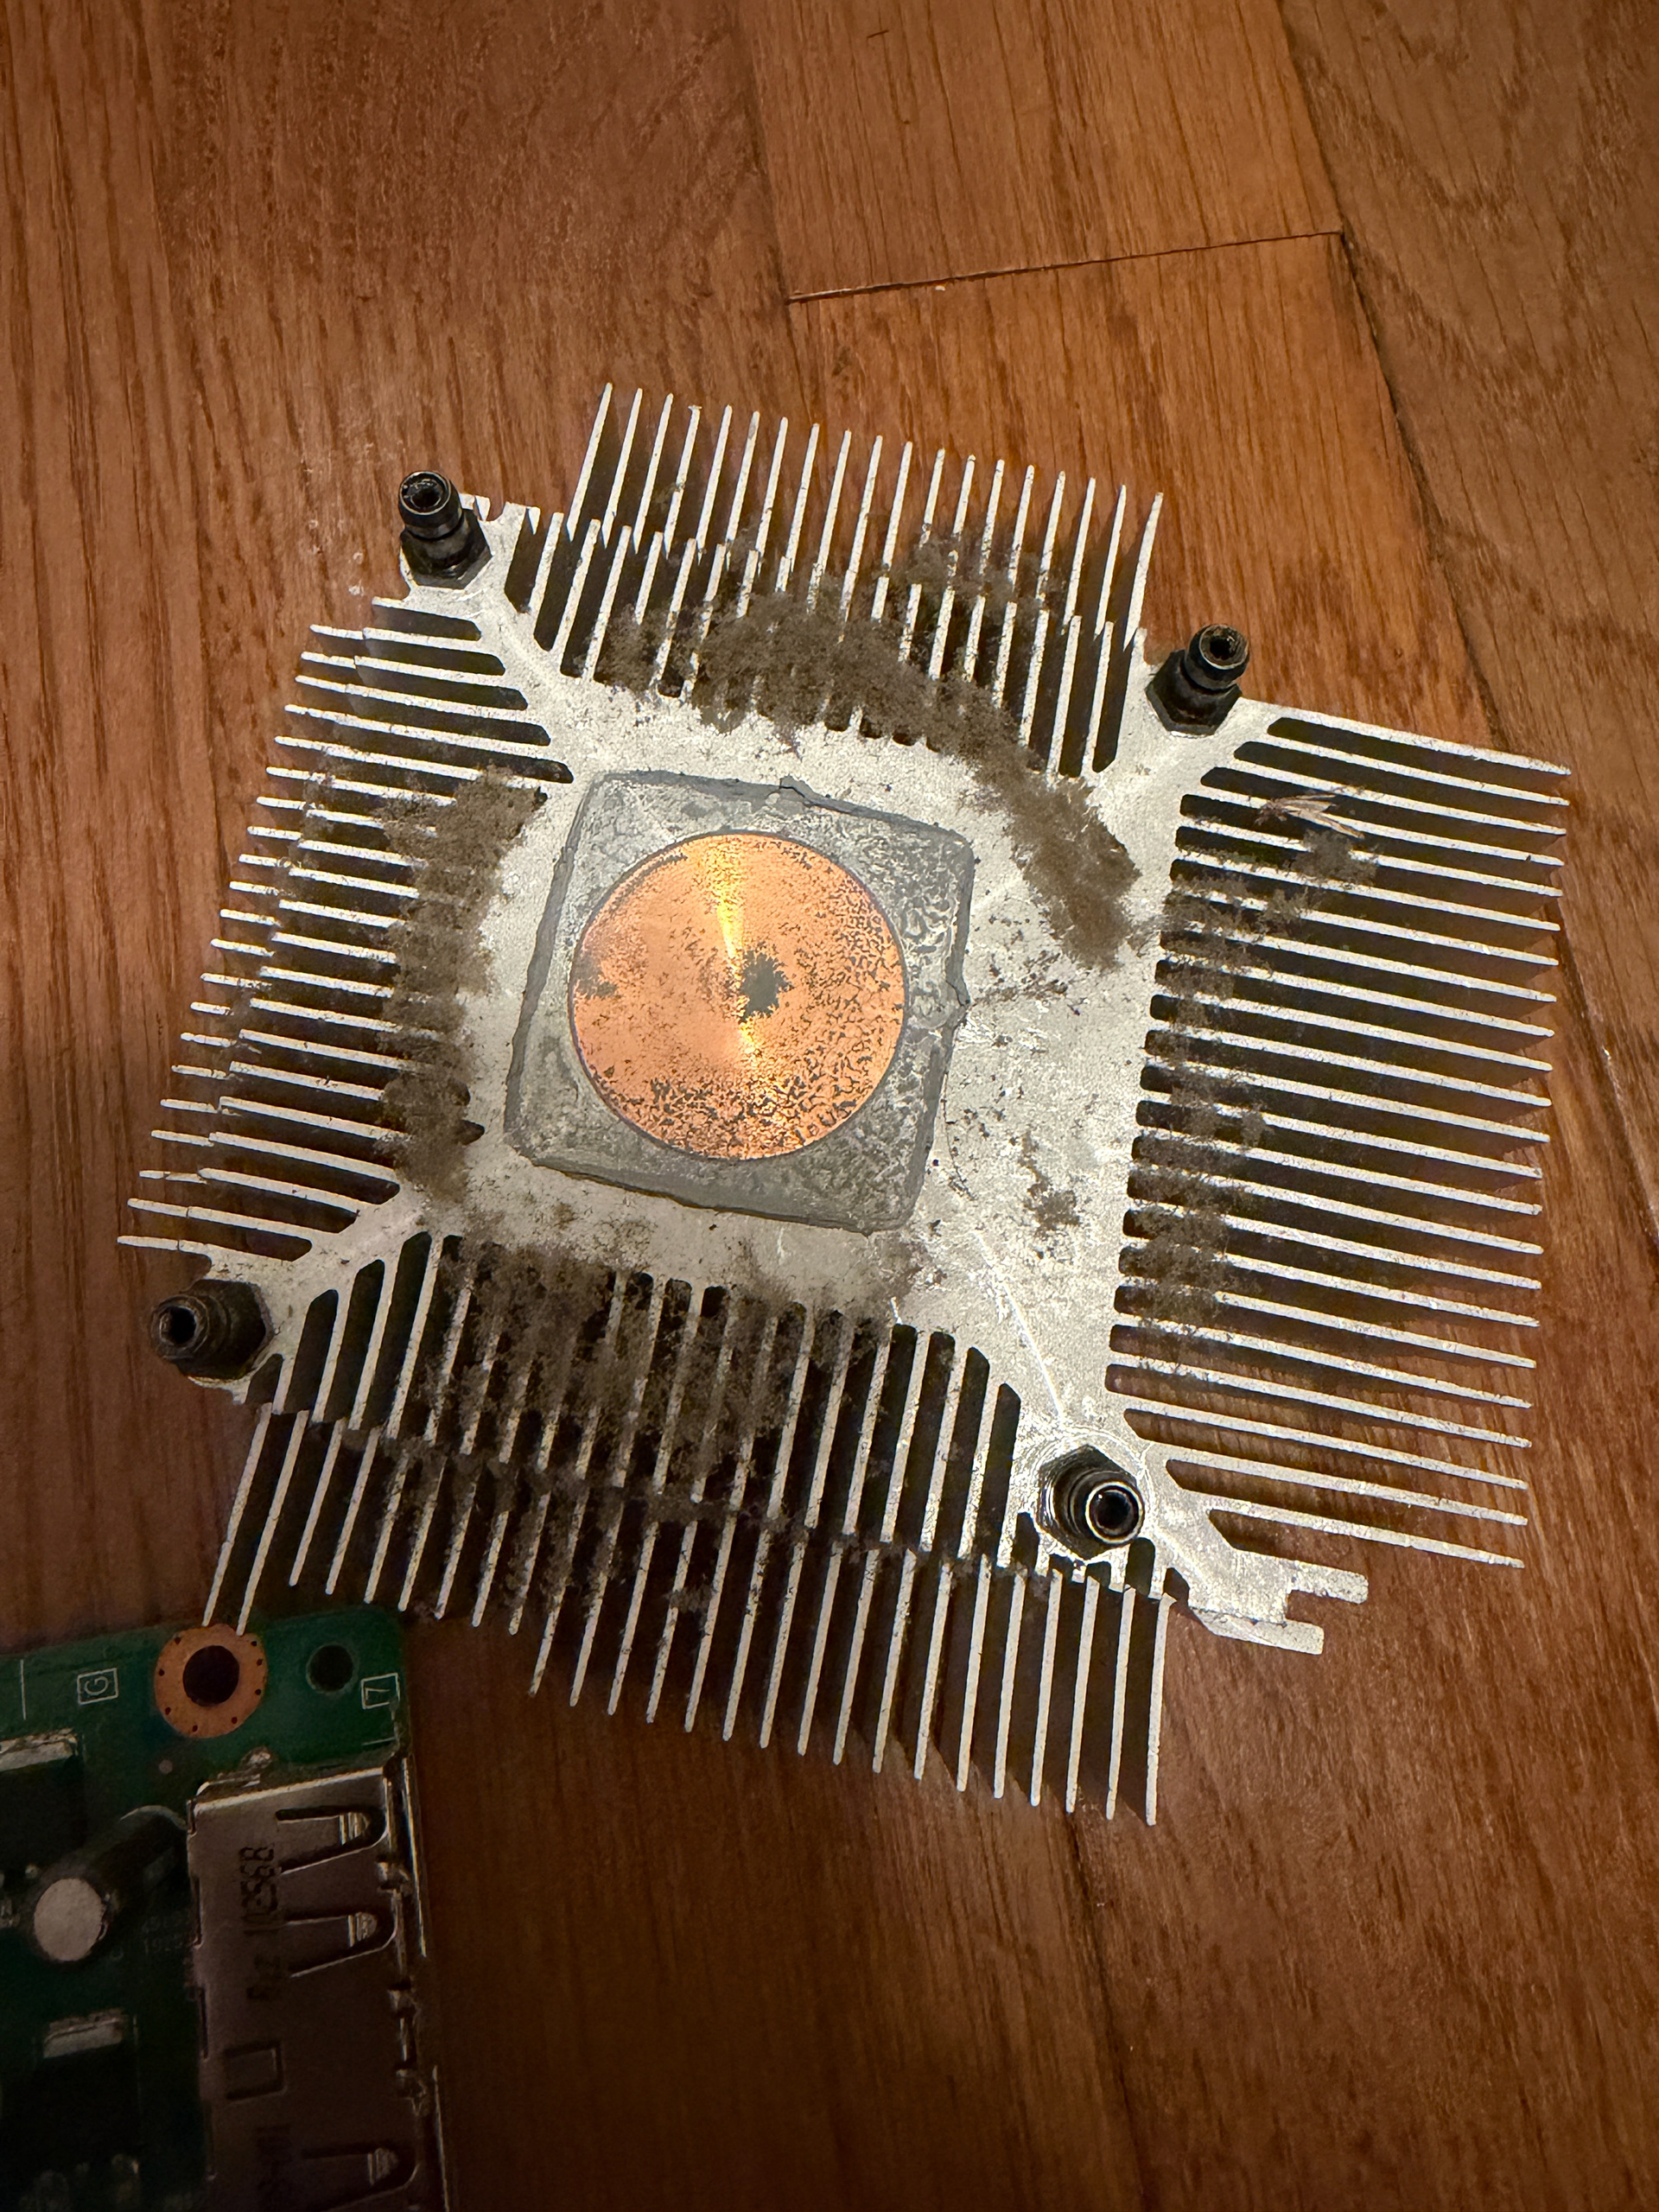
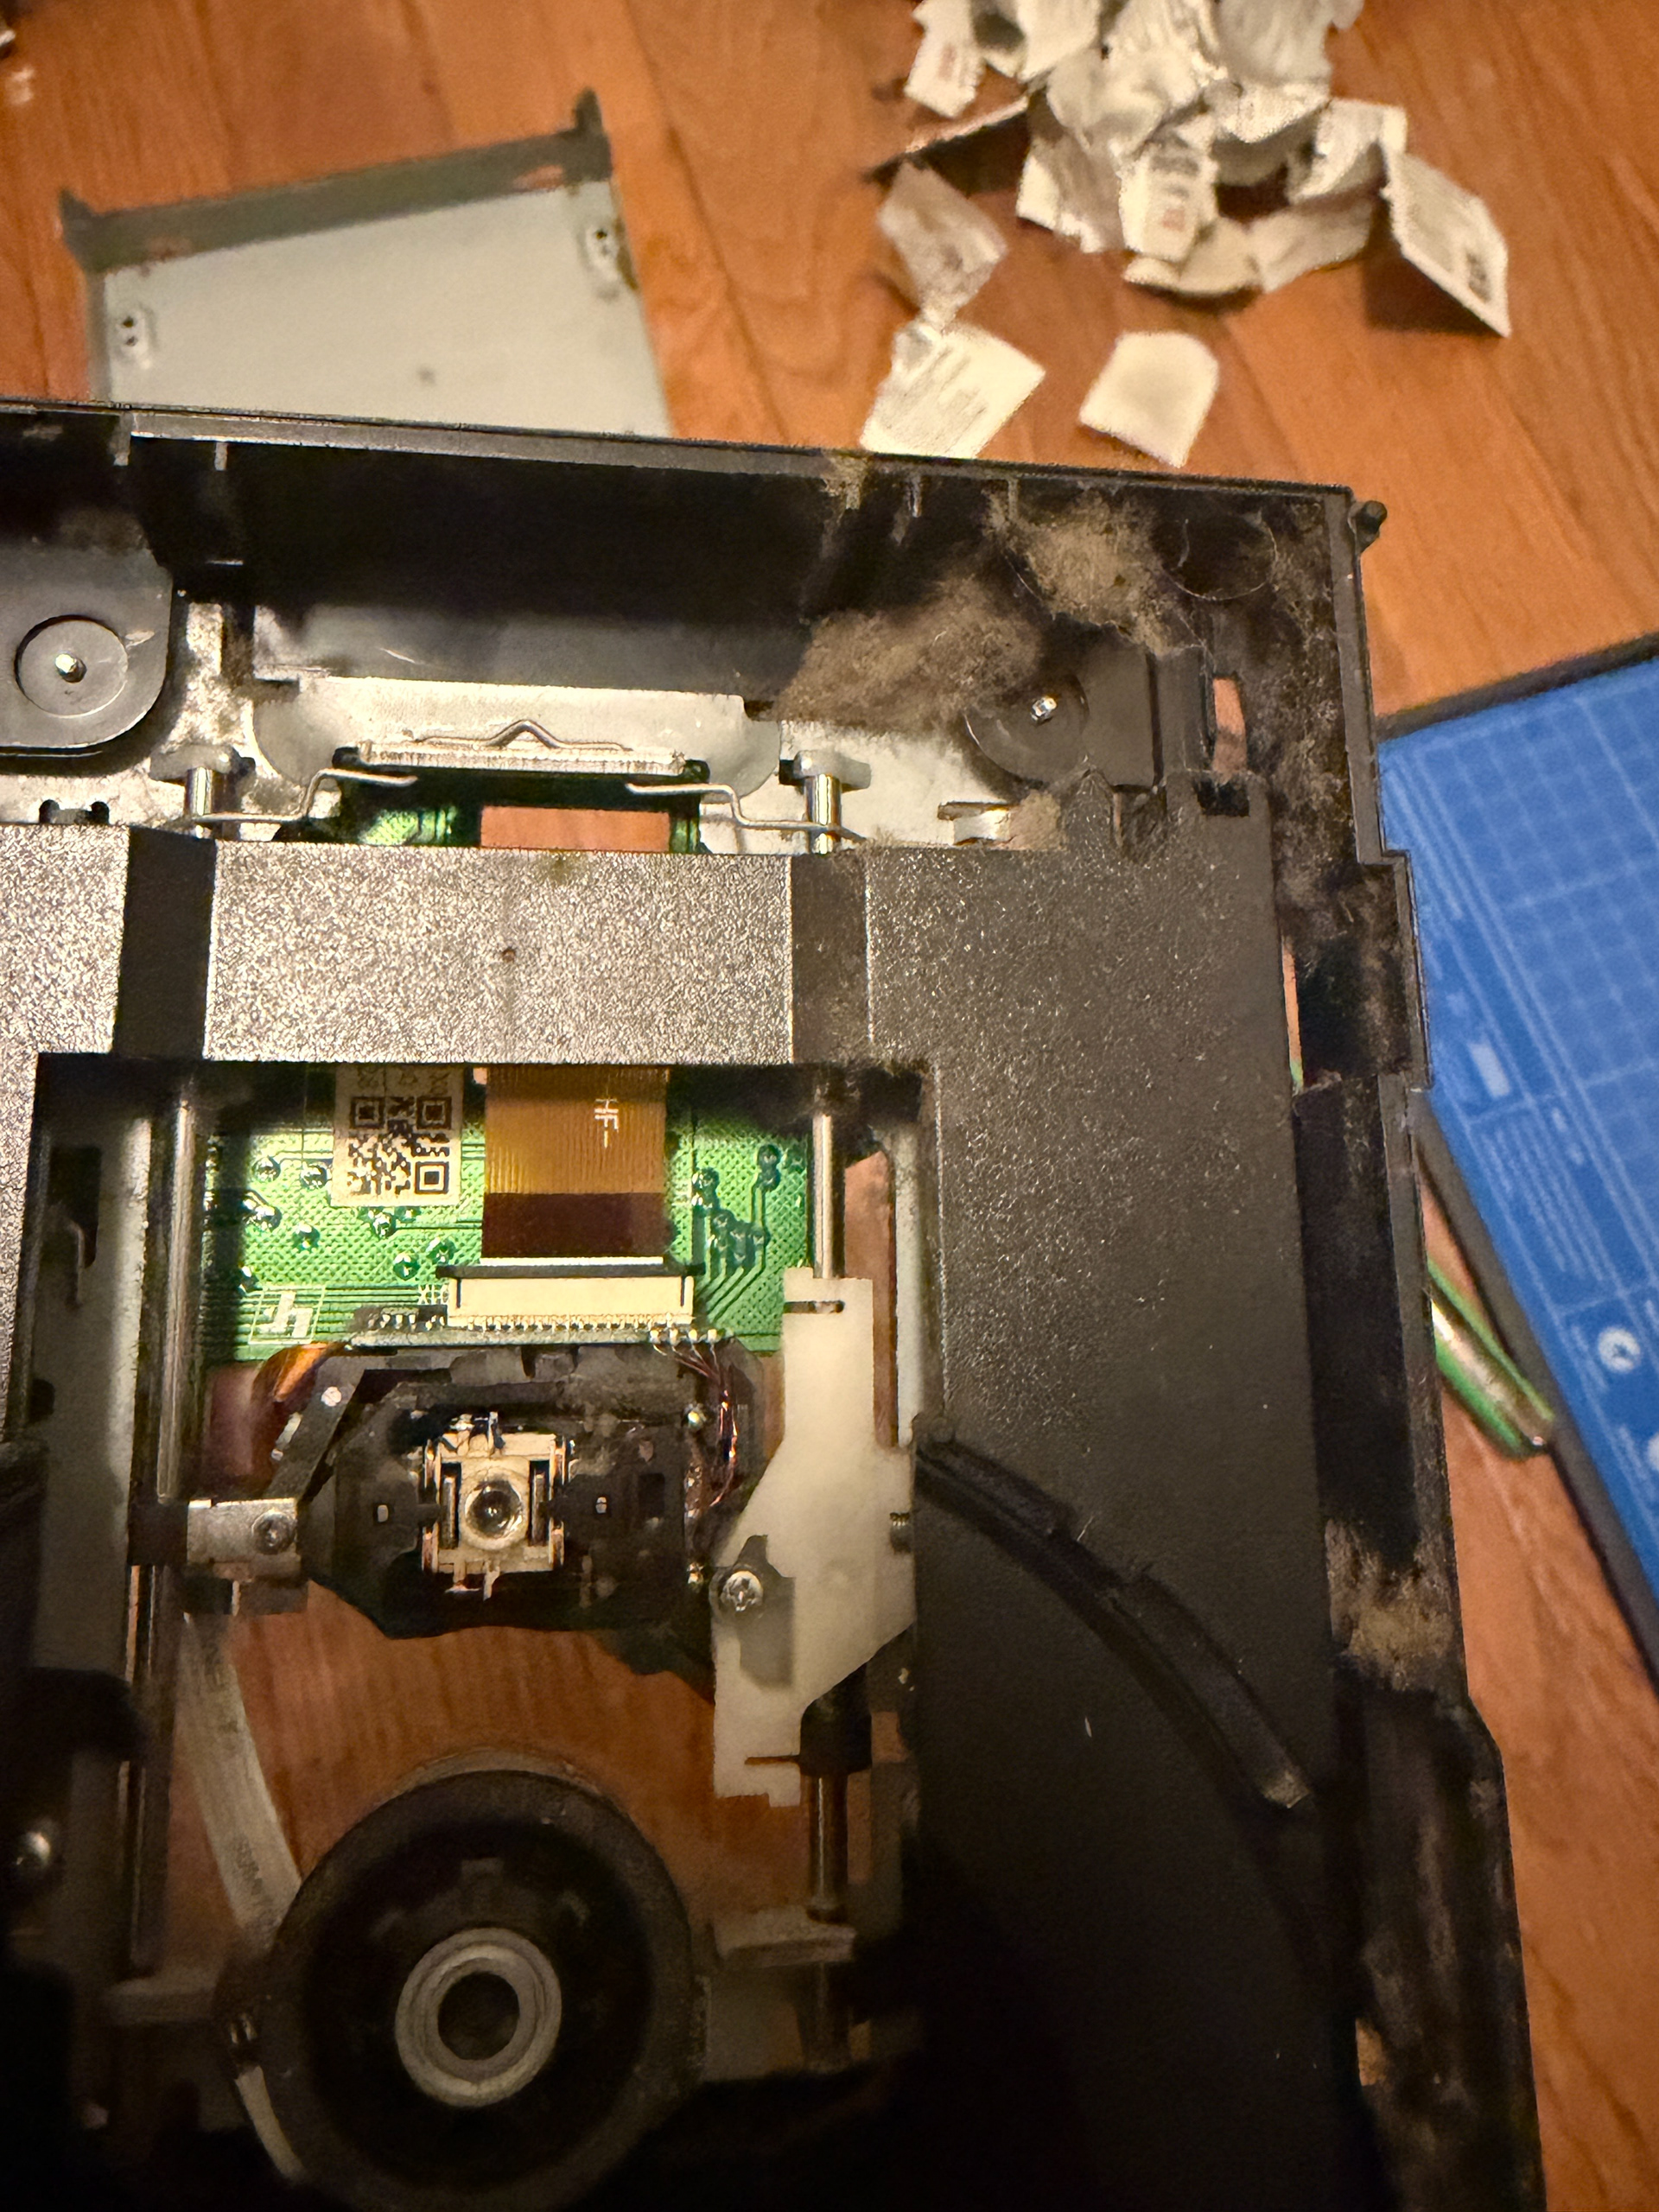
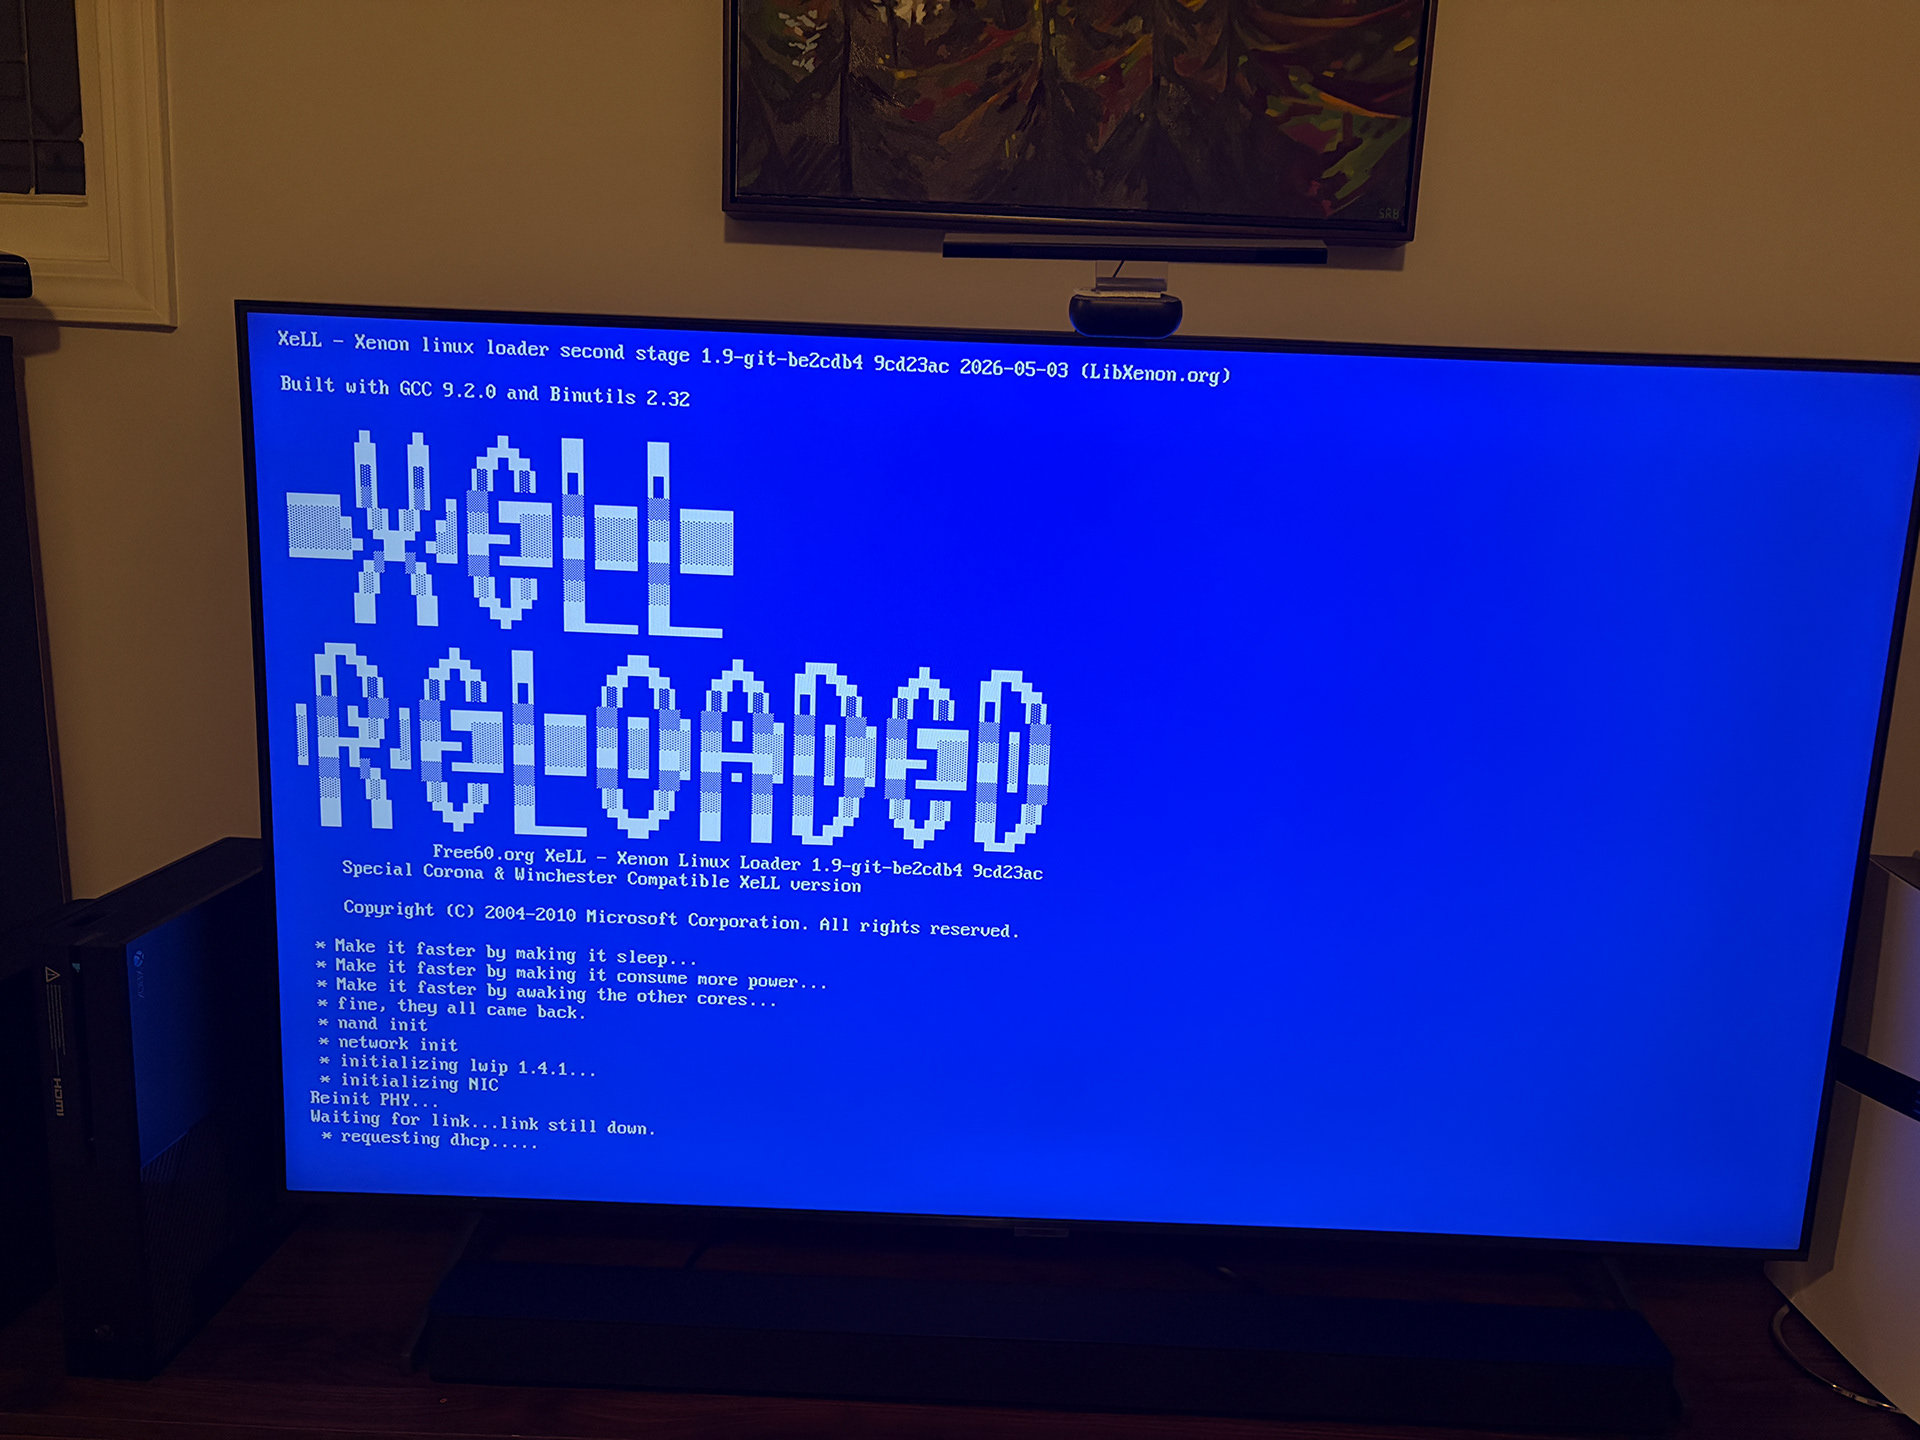
I bought this XBOX 360 in a lot of broken consoles. Upon my initial testing, I found that the console turned on, but the disc tray would not open. I could see that the console itself was very dirty, so my first step was just to tear it down and clean it (and oh wow do I hate taking this console apart). After cleaning it, I was surprised to find that the disc tray started working normally again. I popped a game in and was happy to see that it also read discs successfully. Although the repair was complete, I wasn't done with this console yet. While researching, I learned that this console was the Trinity board revision, which is one of the best ones for modding (specifically, the RGH3 mod).
After watching and reading some tutorials, I decided to give it a try. In case anyone also wants to give this a try, this was the most helpful guide that I followed: https://www.youtube.com/watch?v=fKGn6NkKGTw. This hack is a lot more complex than homebrewing the Wii, because it's a hardware mod and it requires a decent amount of soldering. Specifically, it takes 2 wires & a resistor which will permanently stay on the board, as well as a raspberry pi pico which is temporarily soldered to the board.
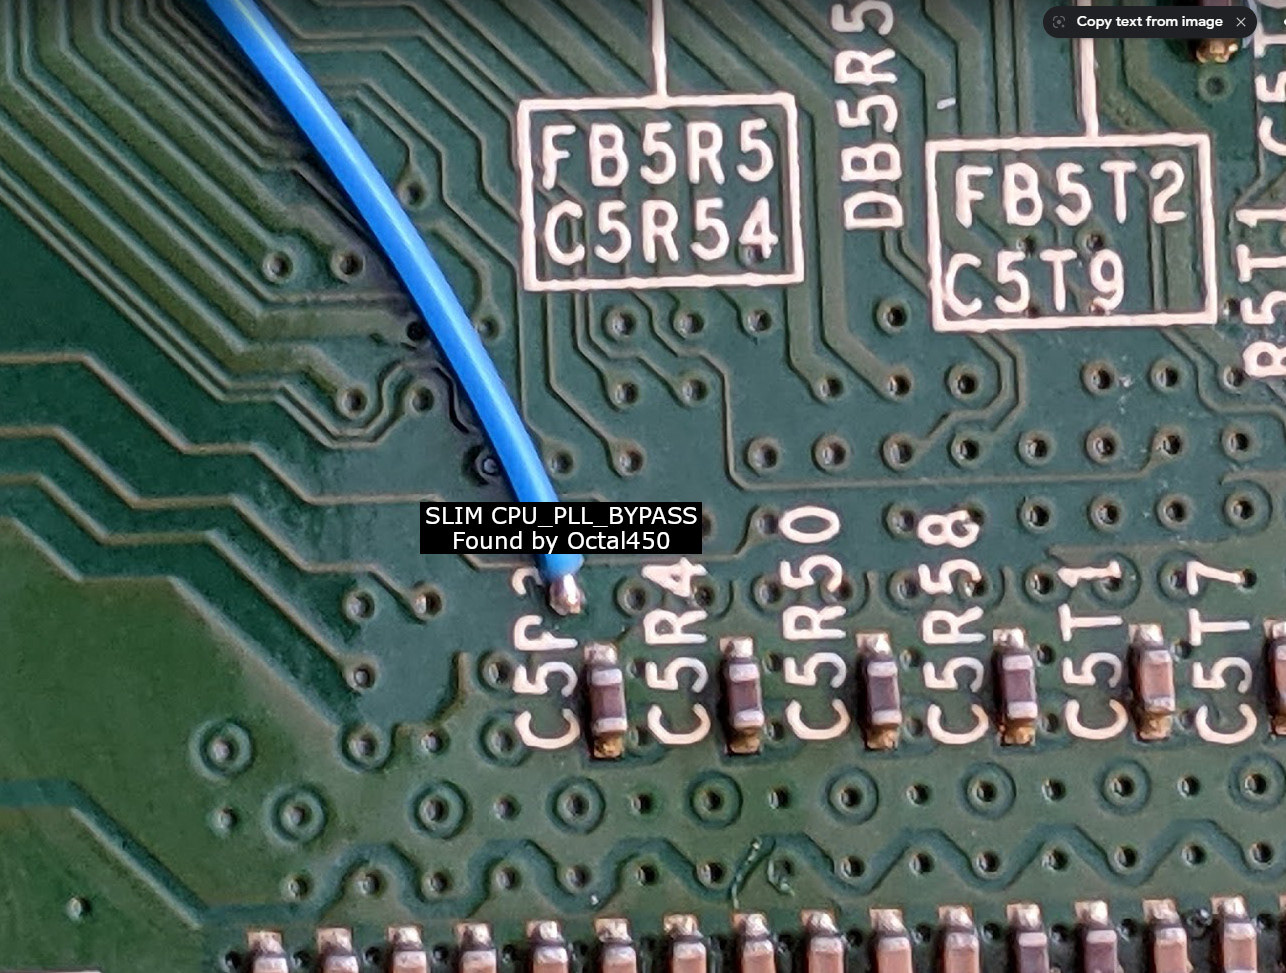
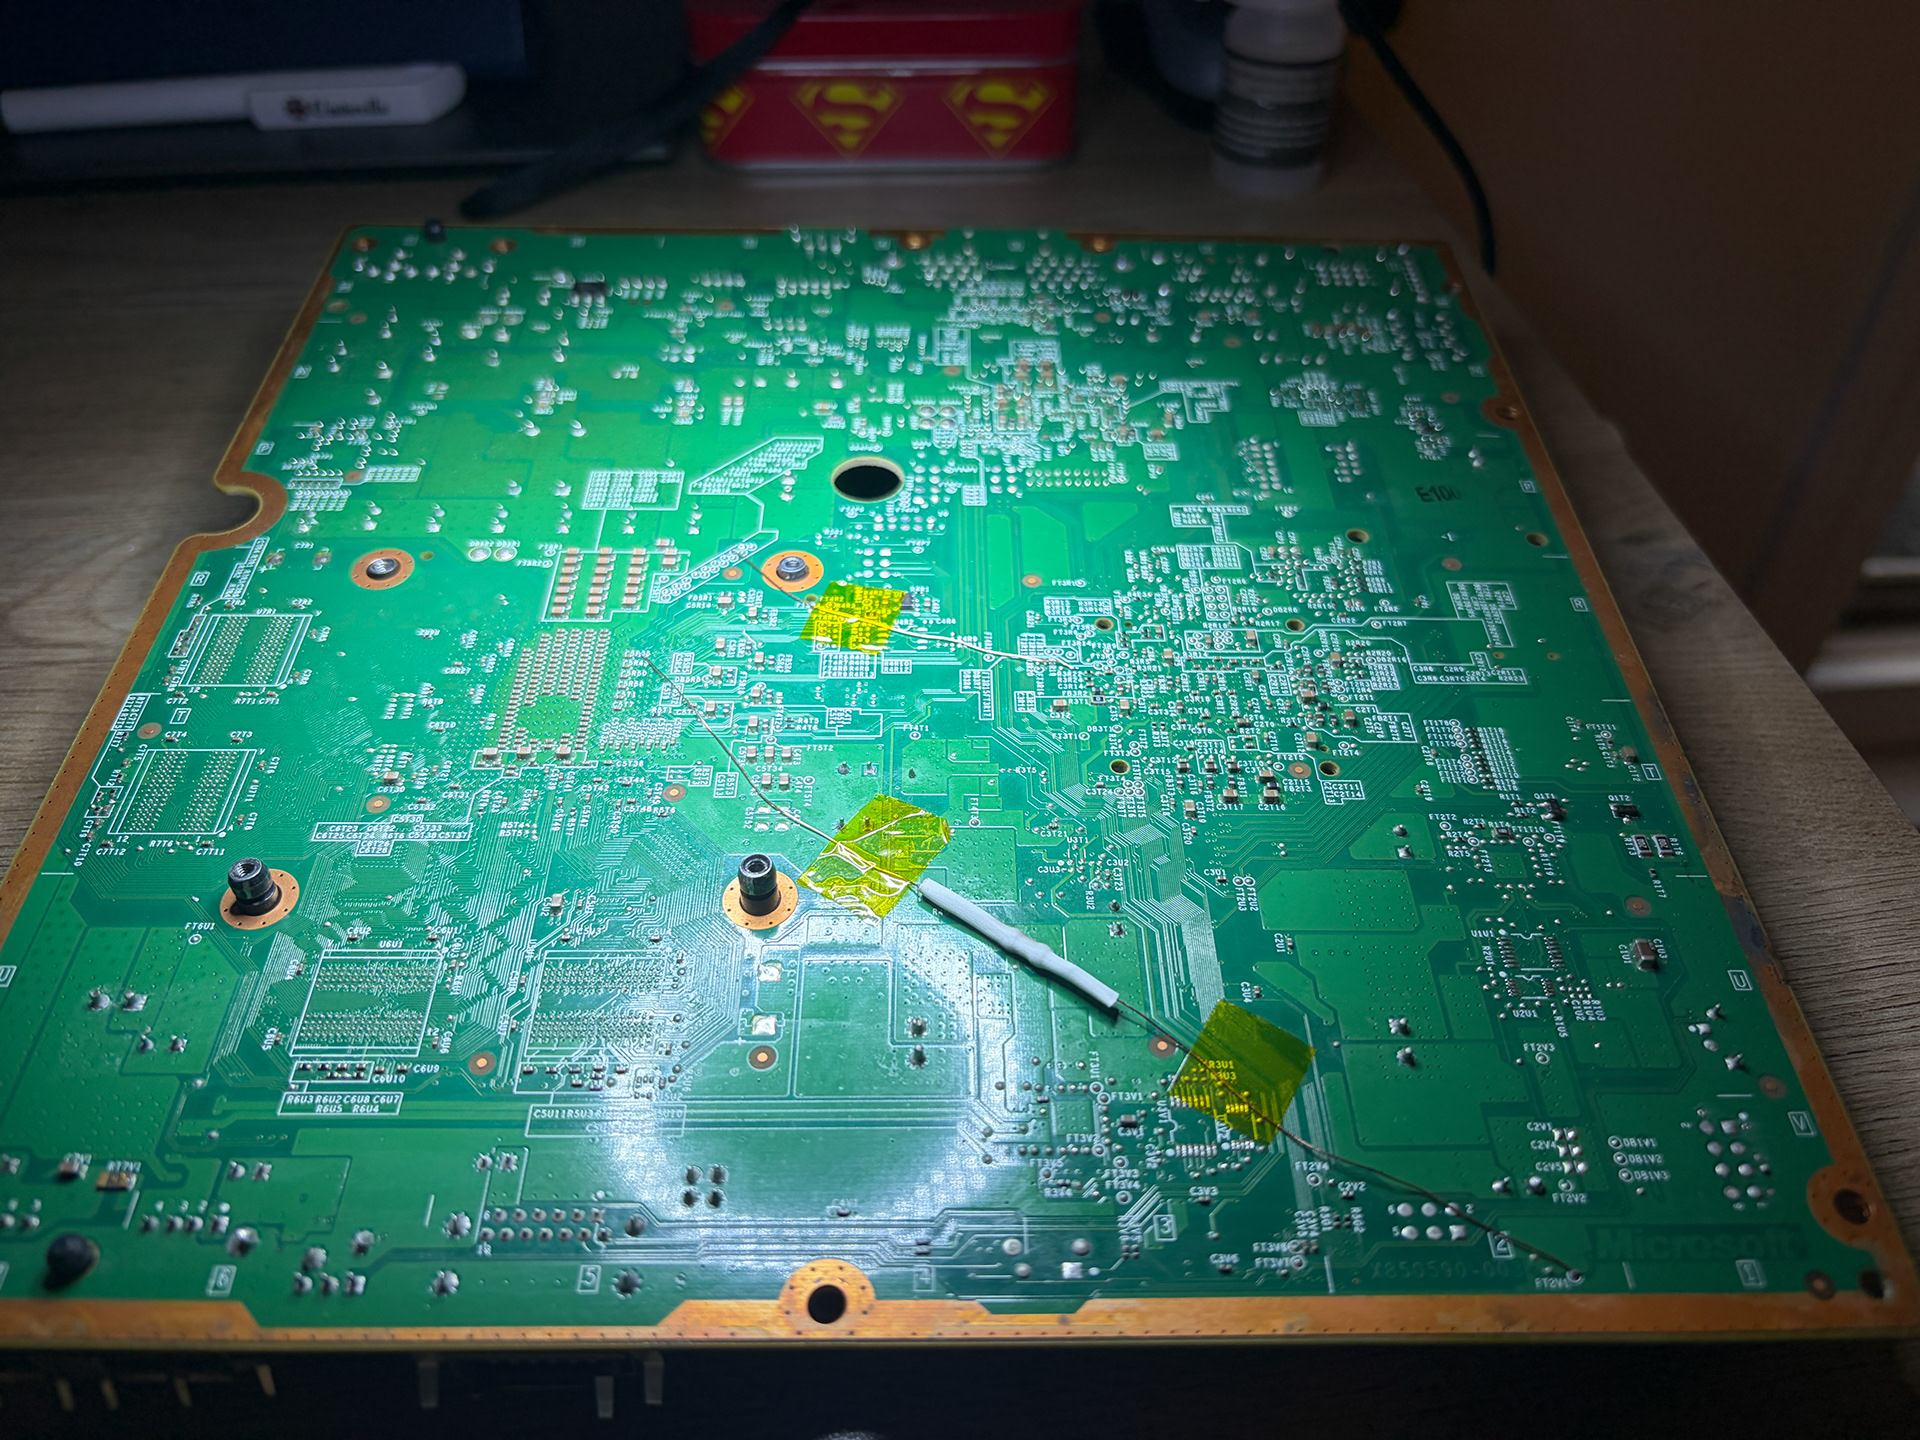
I started by soldering the permanent wires to the bottom of the board. First, I needed to use my grinding pen to scrape off a bit of solder mask on the board by the C5R35 component. I purchased a spool of Enameled Copper Wire for this project because it has an insulated coating which melts away when heated with the soldering iron. I needed to solder a resistor into the first wire (it's recommended to put it in the middle of the wire instead of soldering it directly to either of the sides). I like that I learn more with each project I do. For example, I learned that the orientation of a resistor doesn't matter like it does for some other components. Once I was all done, I covered the whole resistor with heat shrink tubing to cover the exposed leads so they couldn't short anything. The other wire was simple and didn't require anything else. I taped them both down with kapton tape so they would stay put.
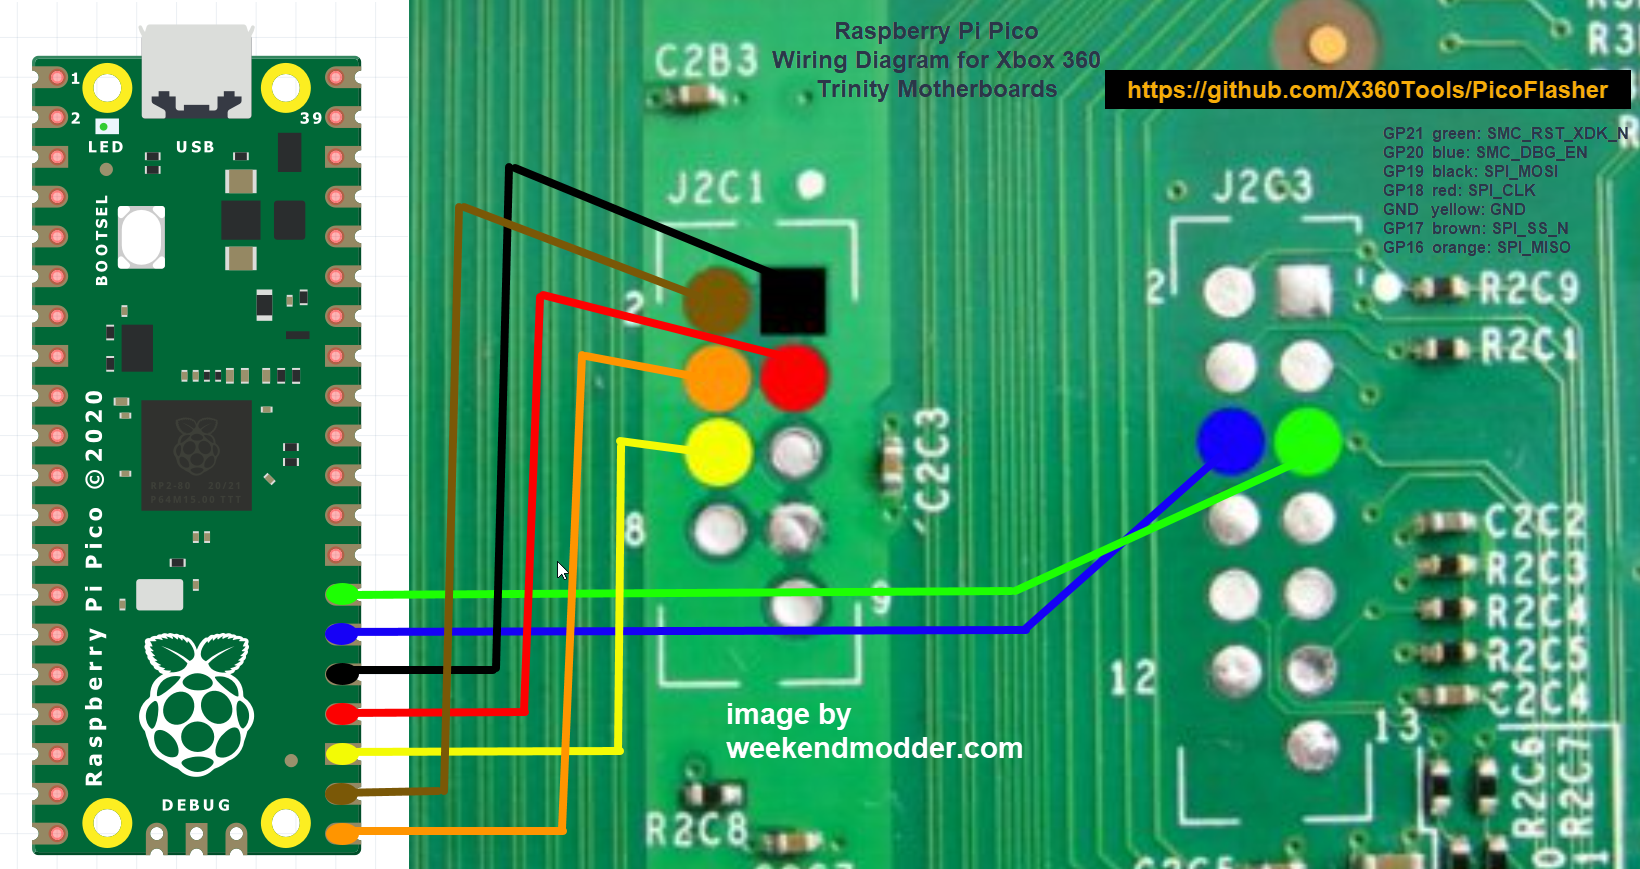
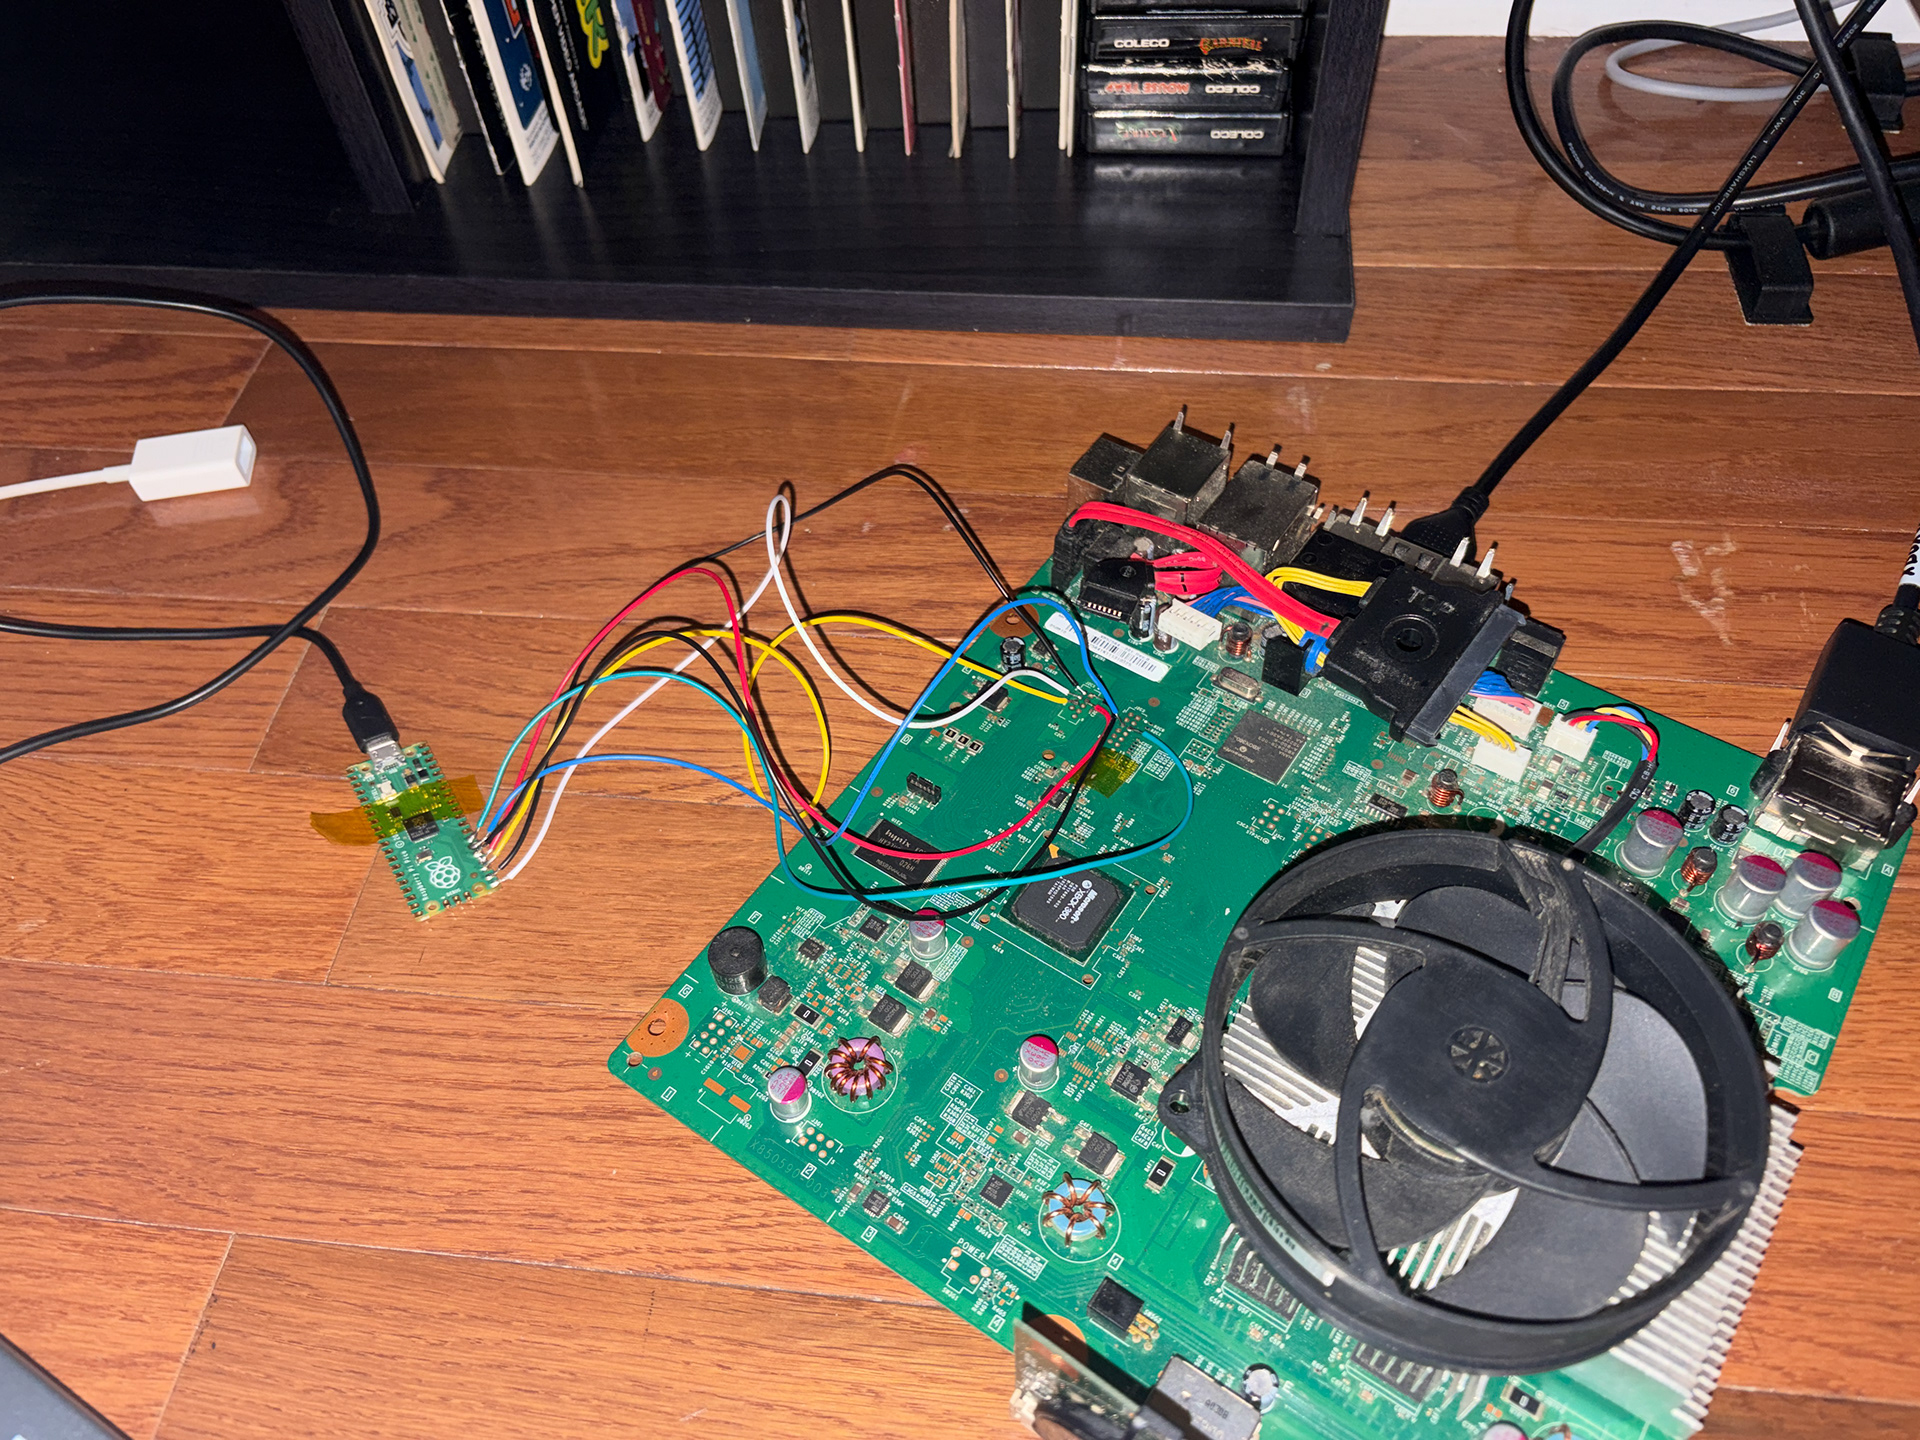
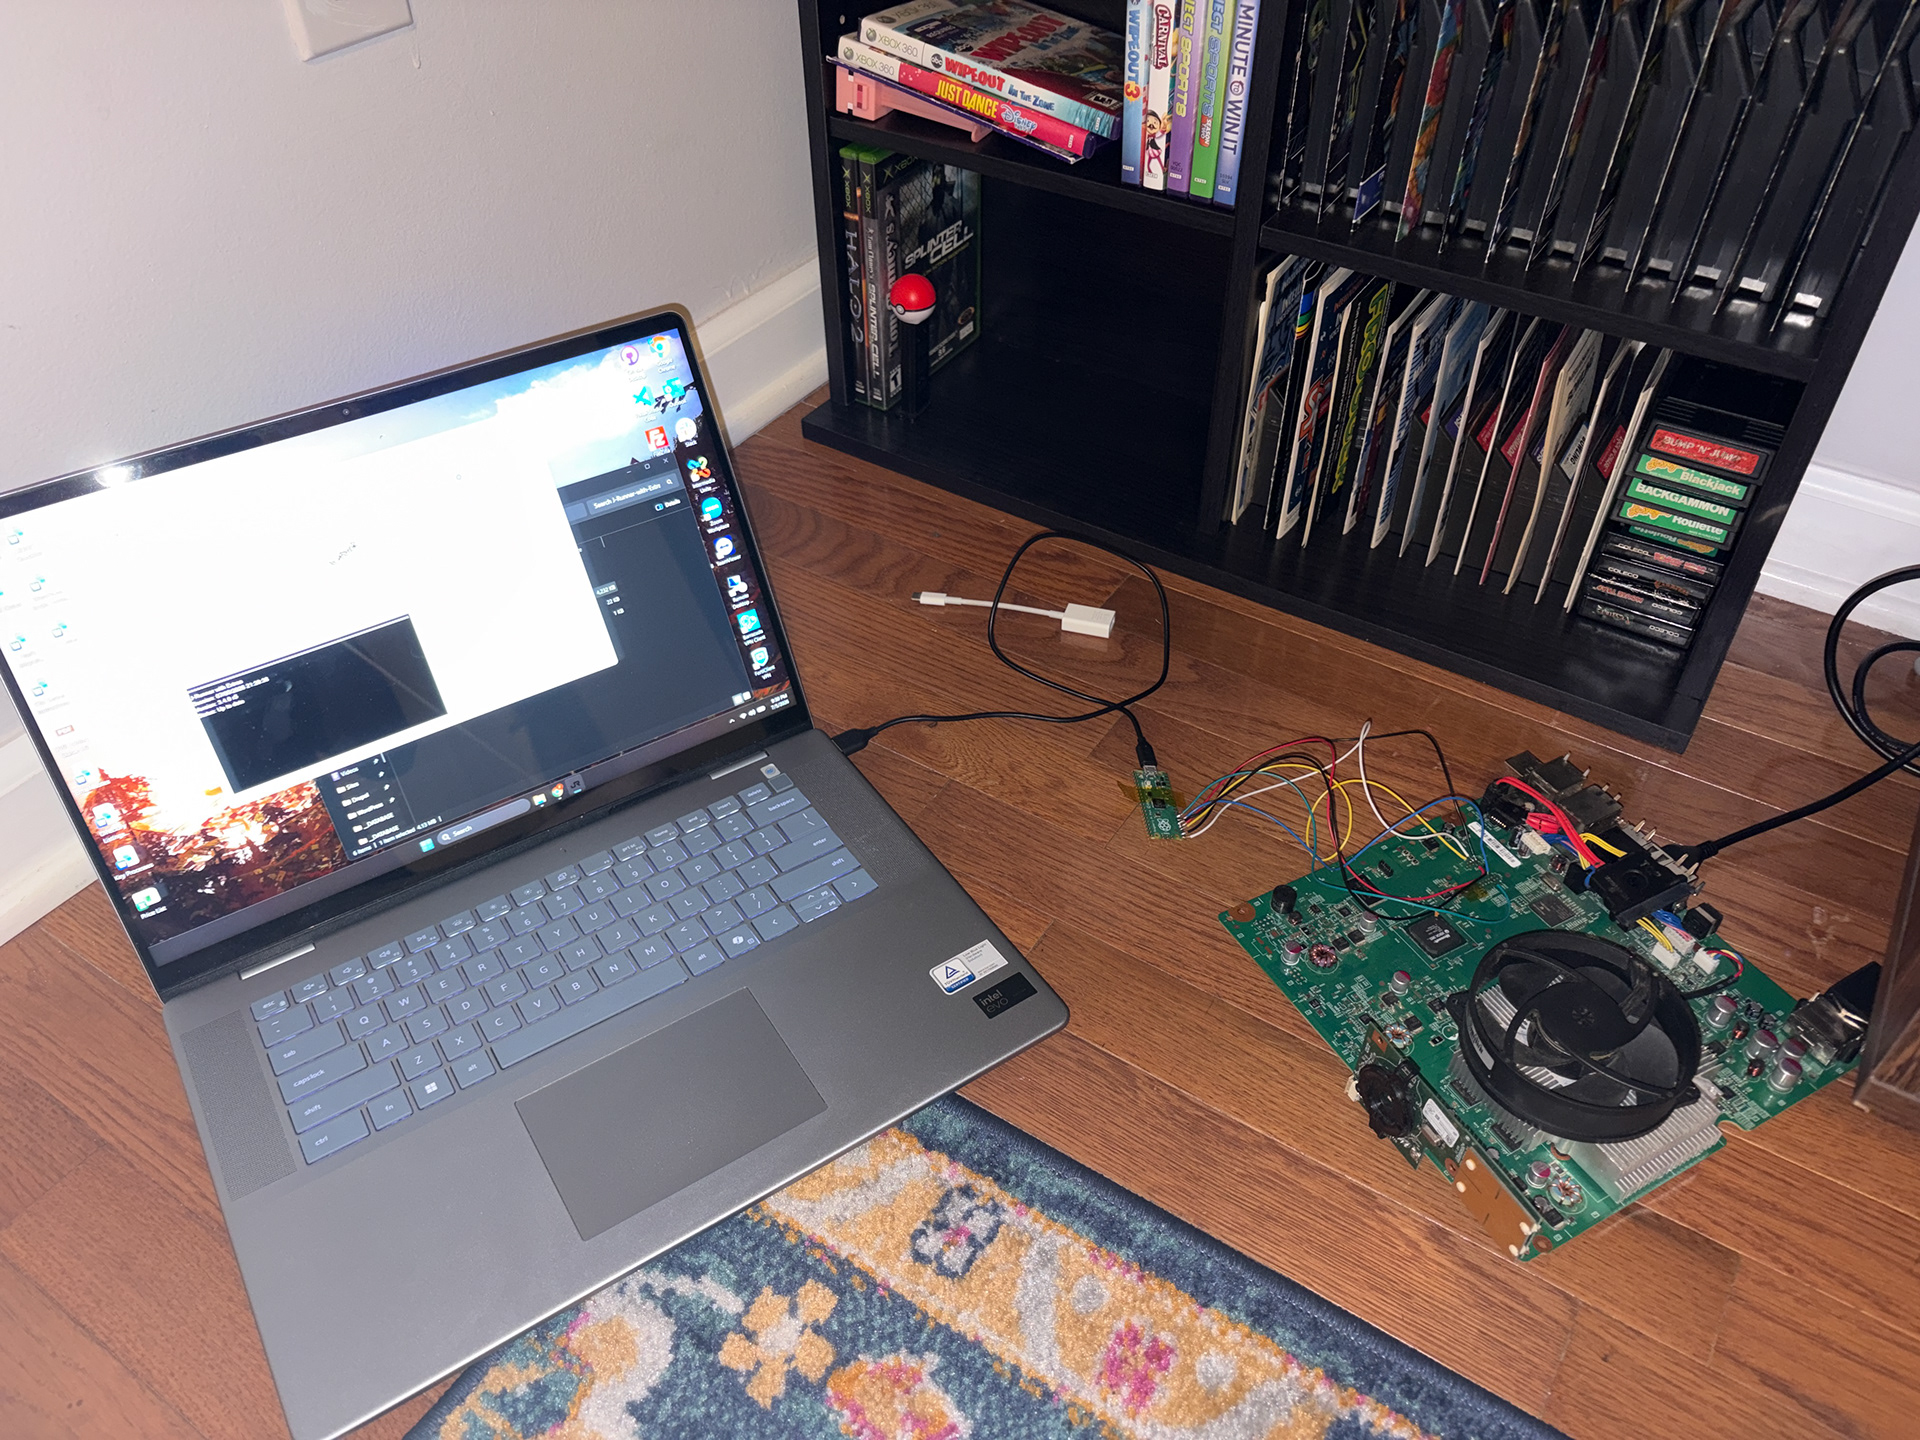
Next, I needed to solder 7 wires connecting the raspberry pi to the motherboard. This was a really fun challenge with how close the points are. I felt like a mad scientist with all my wires strewn about while also having the Raspberry Pi plugged into my computer. Basically, what I needed to do for this step was flash the pico and then use JRunner to back up the NAND and then write a hack to it. It sounds really complicated, but following the guide made it easy. When I booted up the console by pressing the eject button instead of the power button, I was really proud to see that the Xbox was detected, meaning my soldering work was successful. Following these steps allowed Xell Reloaded to run on my Xbox, which gives me the freedom to run other unsigned code, such as the Aurora dashboard.
After confirming that the Xbox still booted up normally, I knew that my mod was successful. I then desoldered the wires connecting the Pico to the board, and reassembled the console. At the time of writing this, I don't have a hard drive to use with this, but my future plans are to get a 2TB SSD and load it up with my game library. I'm really proud of how this mod went, and I would love to do it again someday.